Renter-Friendly Kitchen Makeover Reveal

This post contains affiliate links. When make a purchase through these links, I earn a small commission at no extra cost to you.
I am sooooo excited about this post today. I’m finally revealing my apartment kitchen makeover. I spent weeks curating the perfect items to transform this space and now everything has come together.
I share the entire process including some DIYs, tips, renter-friendly hacks and more info about my design choices in the video below.
Before getting into the reveal of my kitchen, I figured I would show you what I started with.
Now, as I explained in the video above, there’s not much I can do to change the appearance of the cabinets and the countertops, so I had to find ways to make the outdated appearance work for me.


Now, I know that the transformation you’re about to see isn’t major, but by making a few switches and bringing in some decor, I made this kitchen feel like an entirely different space.
So let’s get right into this reveal!

In this kitchen makeover, I focused primarily on this side of the kitchen mostly because I need the other side for food prep. So I really wanted to bring in trendy bohemian-style decor.
My favorite addition has to be the subway tile removable wallpaper from Target. It was so simple to put up and it’s the easiest renter hack to transform your space (especially because this particular wallpaper is textured to make it more realistic). I also think the white faux tiles lighten up the space since every single wall in my apartment is gray.
I also wanted to make my decor as functional as possible. So, I hung my pot holders up on the side of the fridge, hung up cutting boards (the top one is from IKEA and the bottom is from Amazon) and included a wire basket above the fridge to store my cookbooks and a faux pothos plant to add greenery.


This wooden shelf was actually this shelf from Hobby Lobby. I ended up using Minwax Polyshades in “Mission Oak” to give it a new color to match my kitchen’s aesthetic. The shelf is also perfect for my salt and pepper shakers and a few additional decor items.
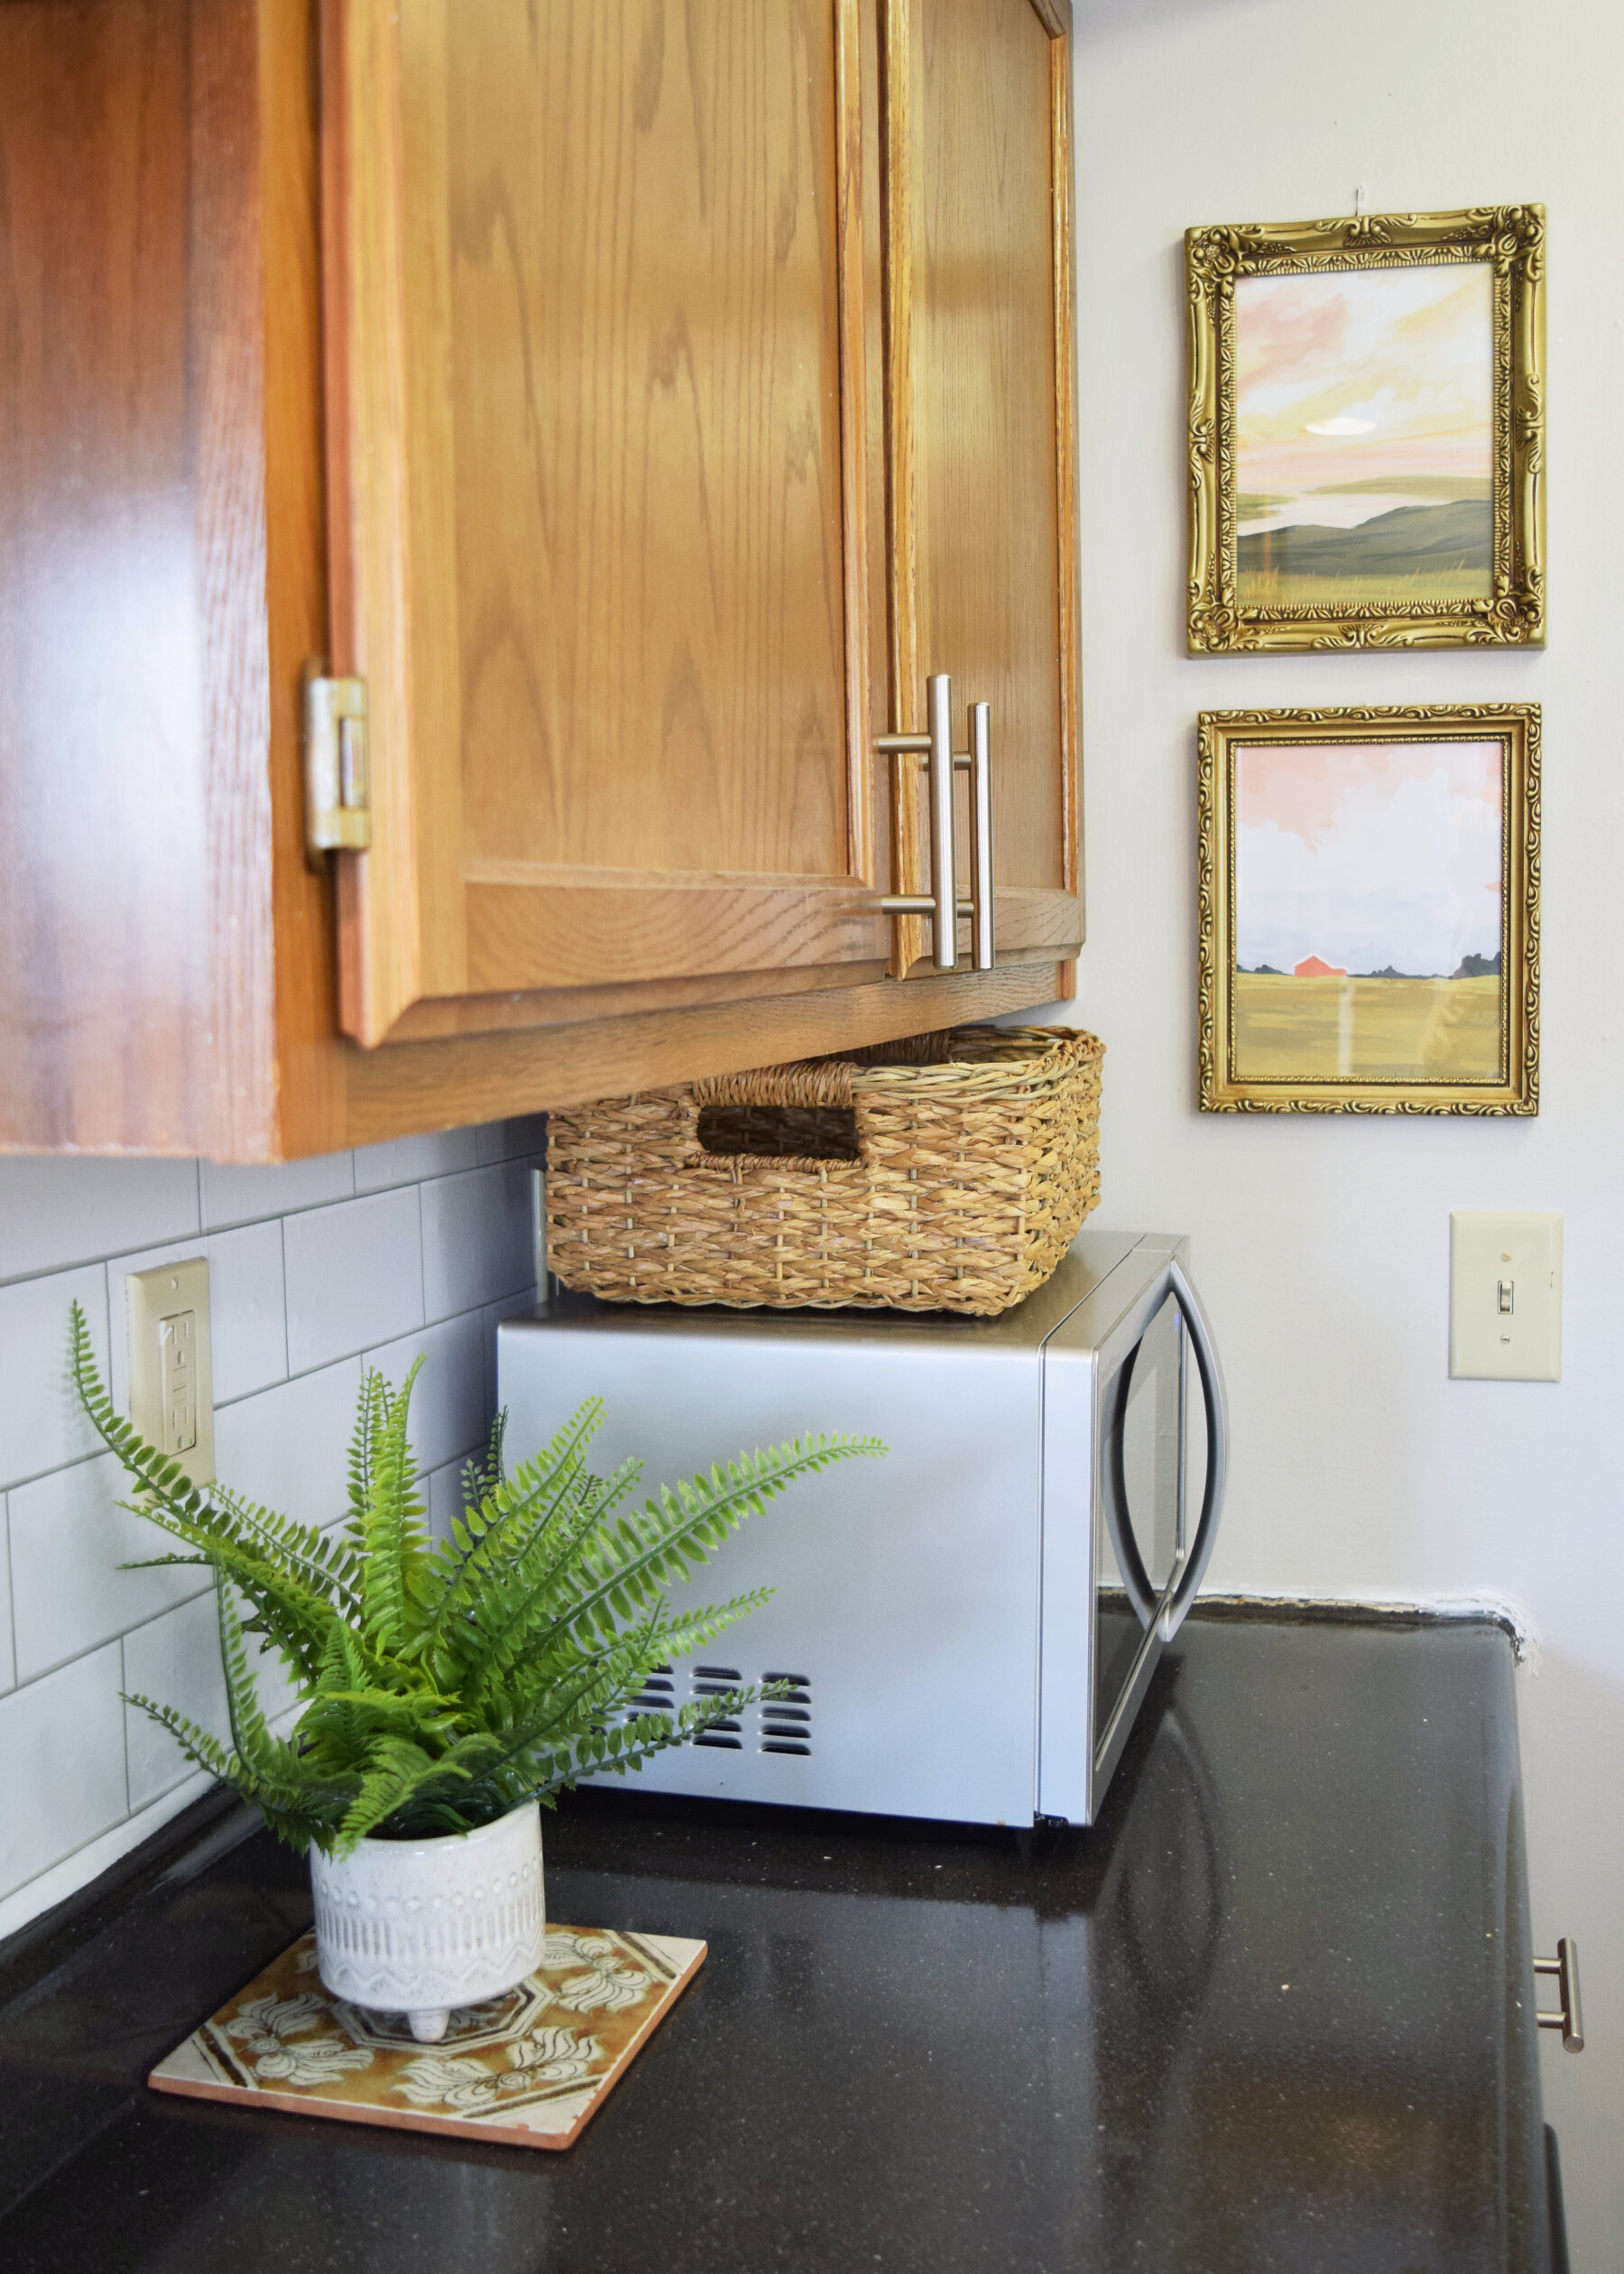
On the other side of the kitchen, as I mentioned above, I needed to keep it simple because this is where I do most of my food prep. I thrifted the trivet in the first photo above. The moment I saw it at the store, I knew I needed it in this space. It matched perfectly. For the sake of styling, I added a faux fern from IKEA on top. It also can conceal the outlet a bit.
Now on top of the microwave, I decided to add a large basket to utilize that empty space. Since my microwave has to sit on the counter in my apartment, I figured why not make it look a little more intentional and add some extra storage? I plan to use it to hide my lunch box so it’s not constantly sitting out on my counter.
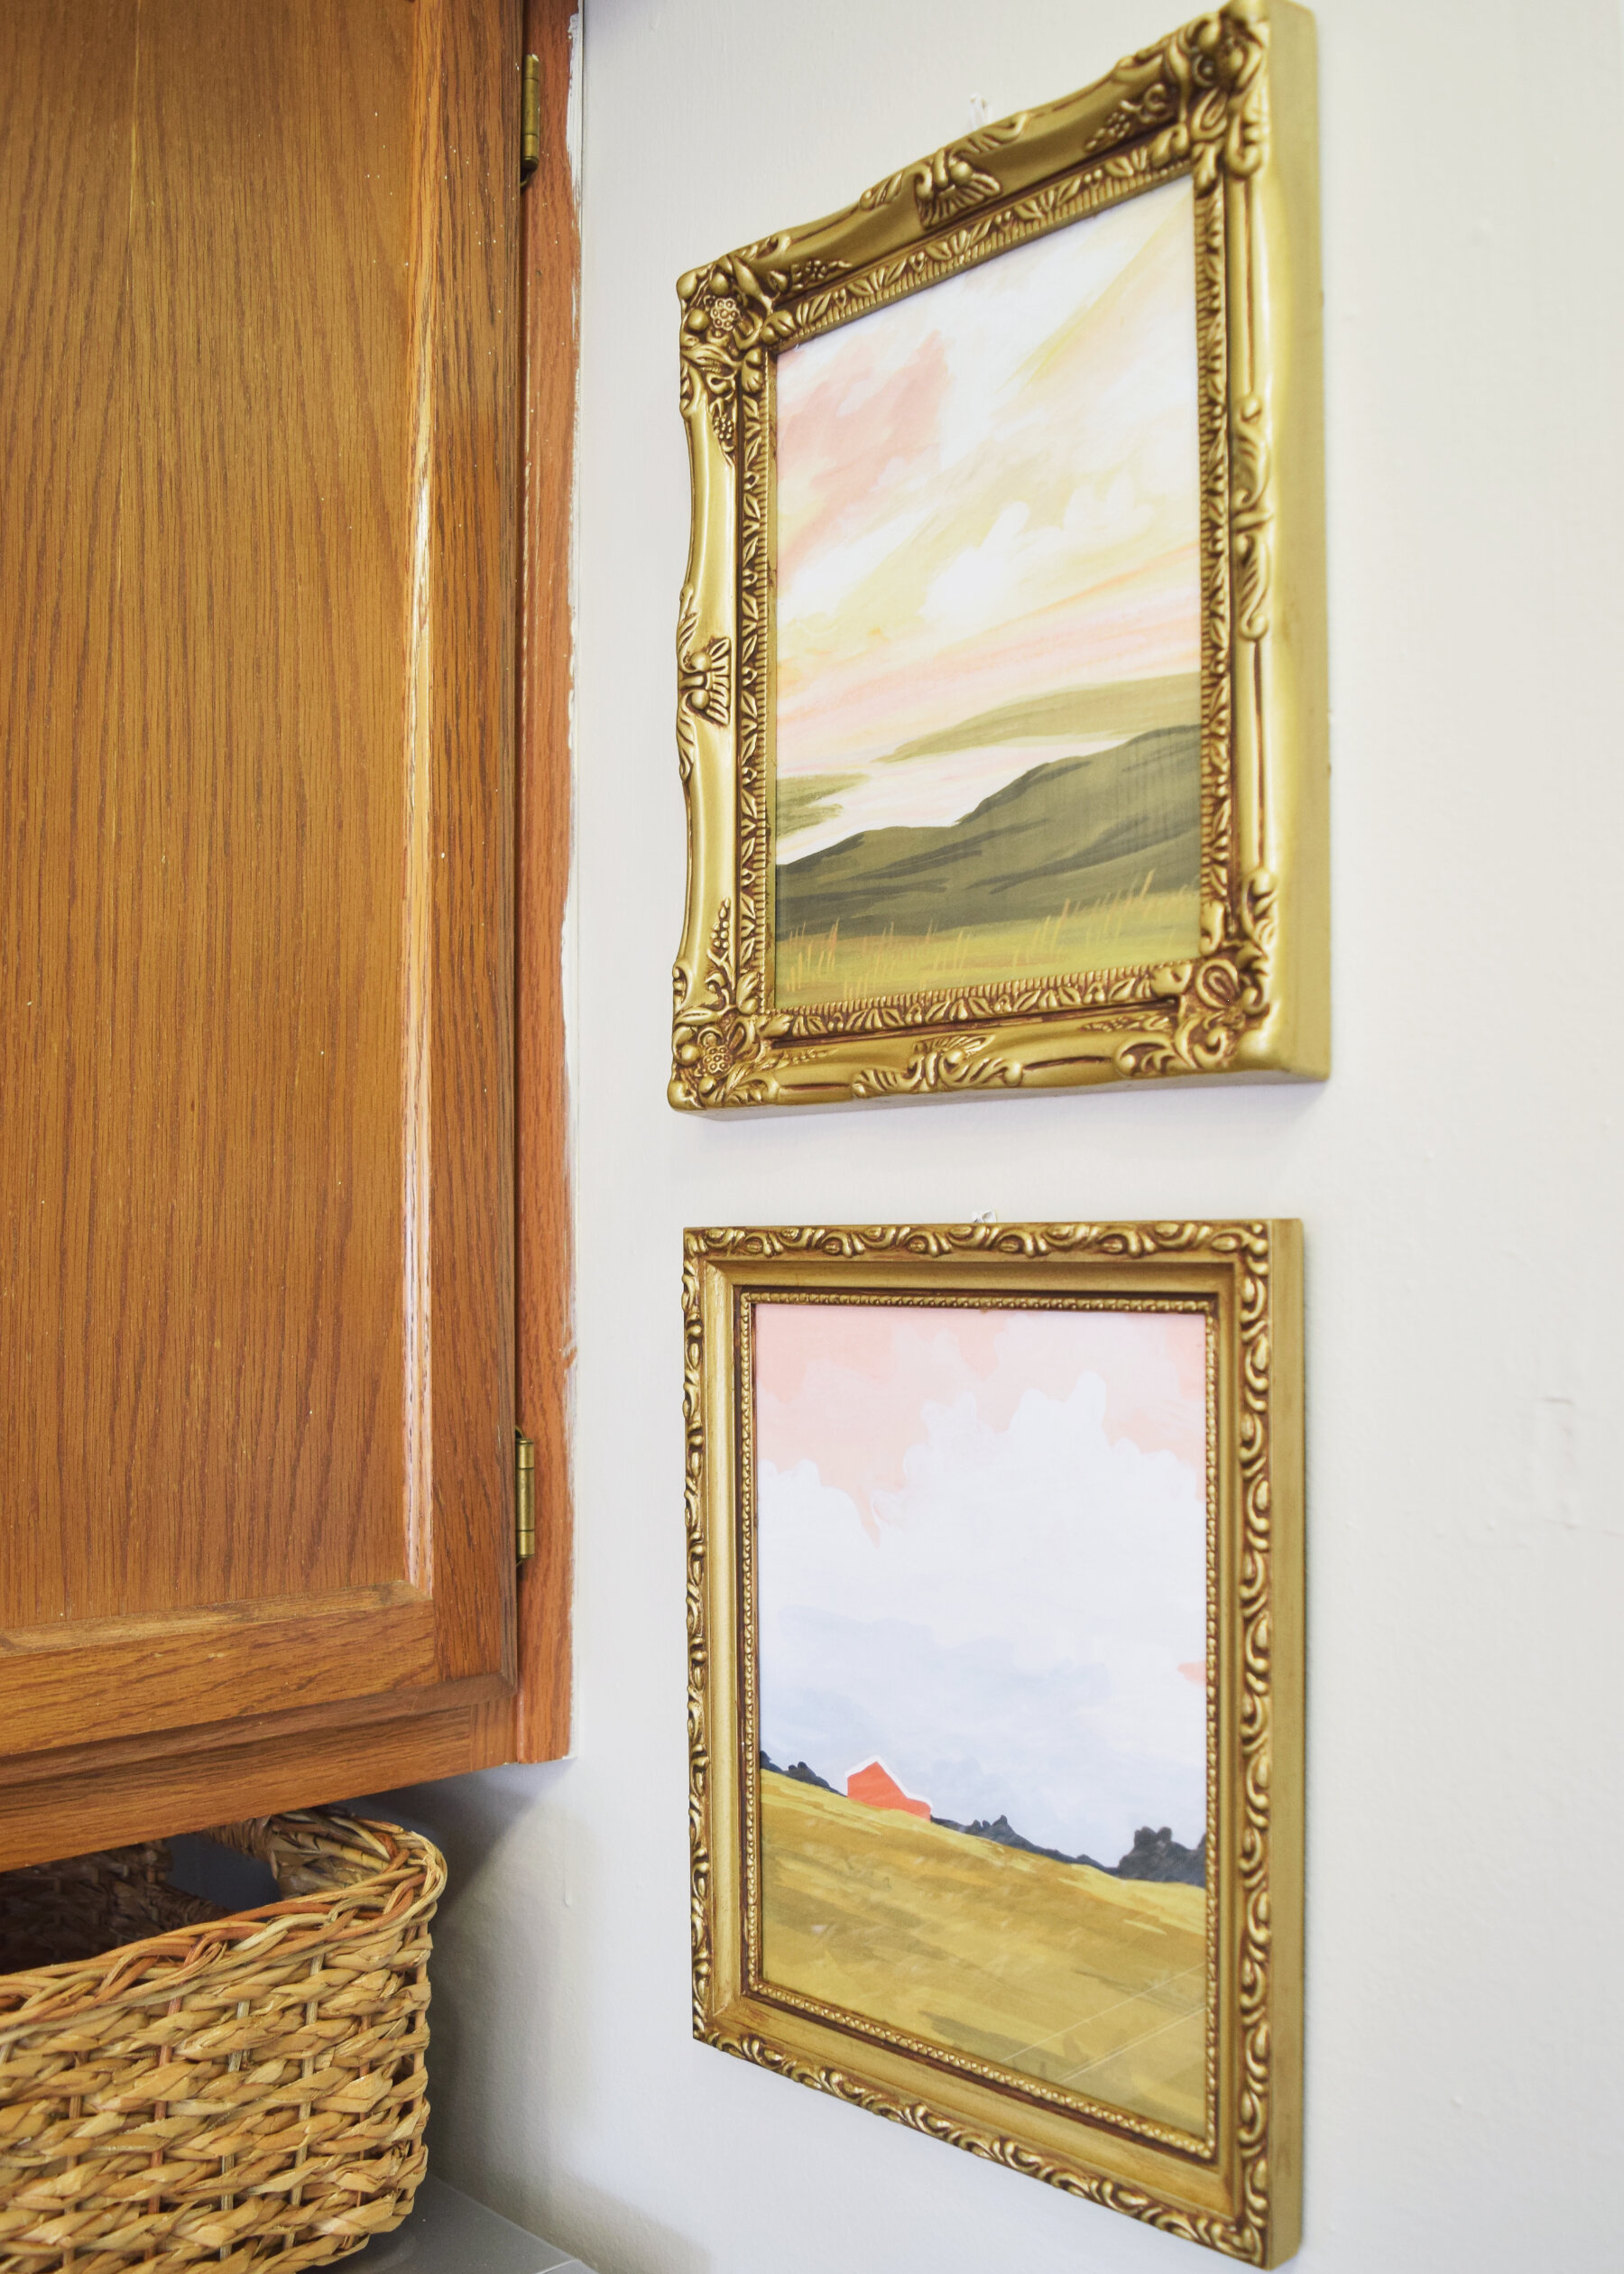
One of my favorite parts of this makeover is these “antique brass” frames. They’re actually a DIY I feature in my video. I thrifted the frames, gave them a coat of spray paint, then used brown antique wax to give them an aged appearance. The art inside is actually two pieces of scrapbook paper I found at Joann’s.


My kitchen also has a bar counter, which I thought could make a cute coffee station if I had a coffee maker (Crazy, I know, what millennial doesn’t have a coffee maker? I prefer to just pay for overpriced lattes in the drive thru, I guess).
Anyways, I used this spot to style up this wood and metal wire basket I got at Marshall’s. I love how it ties into the wood tones and basked above the fridge.
Instead of candles, I prefer my wax warmer. I got the one here at Target. Next to it, I added a faux eucalyptus plant and a thrifted pottery bowl with a wood bead garland for interest.

And I can’t end this post without mentioning how beautiful this runner rug is. I got it at Marshall’s for $20 after spending weeks online shopping for a rug (I think I ended up buying 3 and returning them all). This rug is when I knew my kitchen makeover would come together and I basically based the entire design aesthetic around it. I love it because it has all the warm colors I wanted in the space and the perfect boho design.
Well that does it for my rental kitchen reveal! I hope you can also see how the few simple changes transformed the vibe of this space. I’m so happy with how it turned out . Now it’s time to start planning the next room! ✦
you’ll also love:
Best Small Kitchen Organization Products and Ideas
Actually Alli is a DIY and home decor blog to help you craft your dream life through DIYs and home decor, all while on a budget. Here you’ll find DIY tutorials, home and apartment inspiration. ✦