DIY Home Decor Thrift Flip (with Cricut!)
This post contains affiliate links. When make a purchase through these links, I earn a small commission at no extra cost to you.
I have recently fallen back in love with thrifting. OK, so I have always loved it, but I really never have looked for decor at the thrift store, mostly just clothes. I have always wanted to try a DIY thrift flip, but never felt like anything I saw “matched my style” or was a big enough project to take on. Then I decided… instead of finding excuses, just dive into it and give it a try."
Needless to say, I’ve made at least six trips to a thrift store since making that decision.
Now this thrift flip is extra special because my video is sponsored by Cricut! So sending them huge thank you because I have always wanted a Cricut machine.
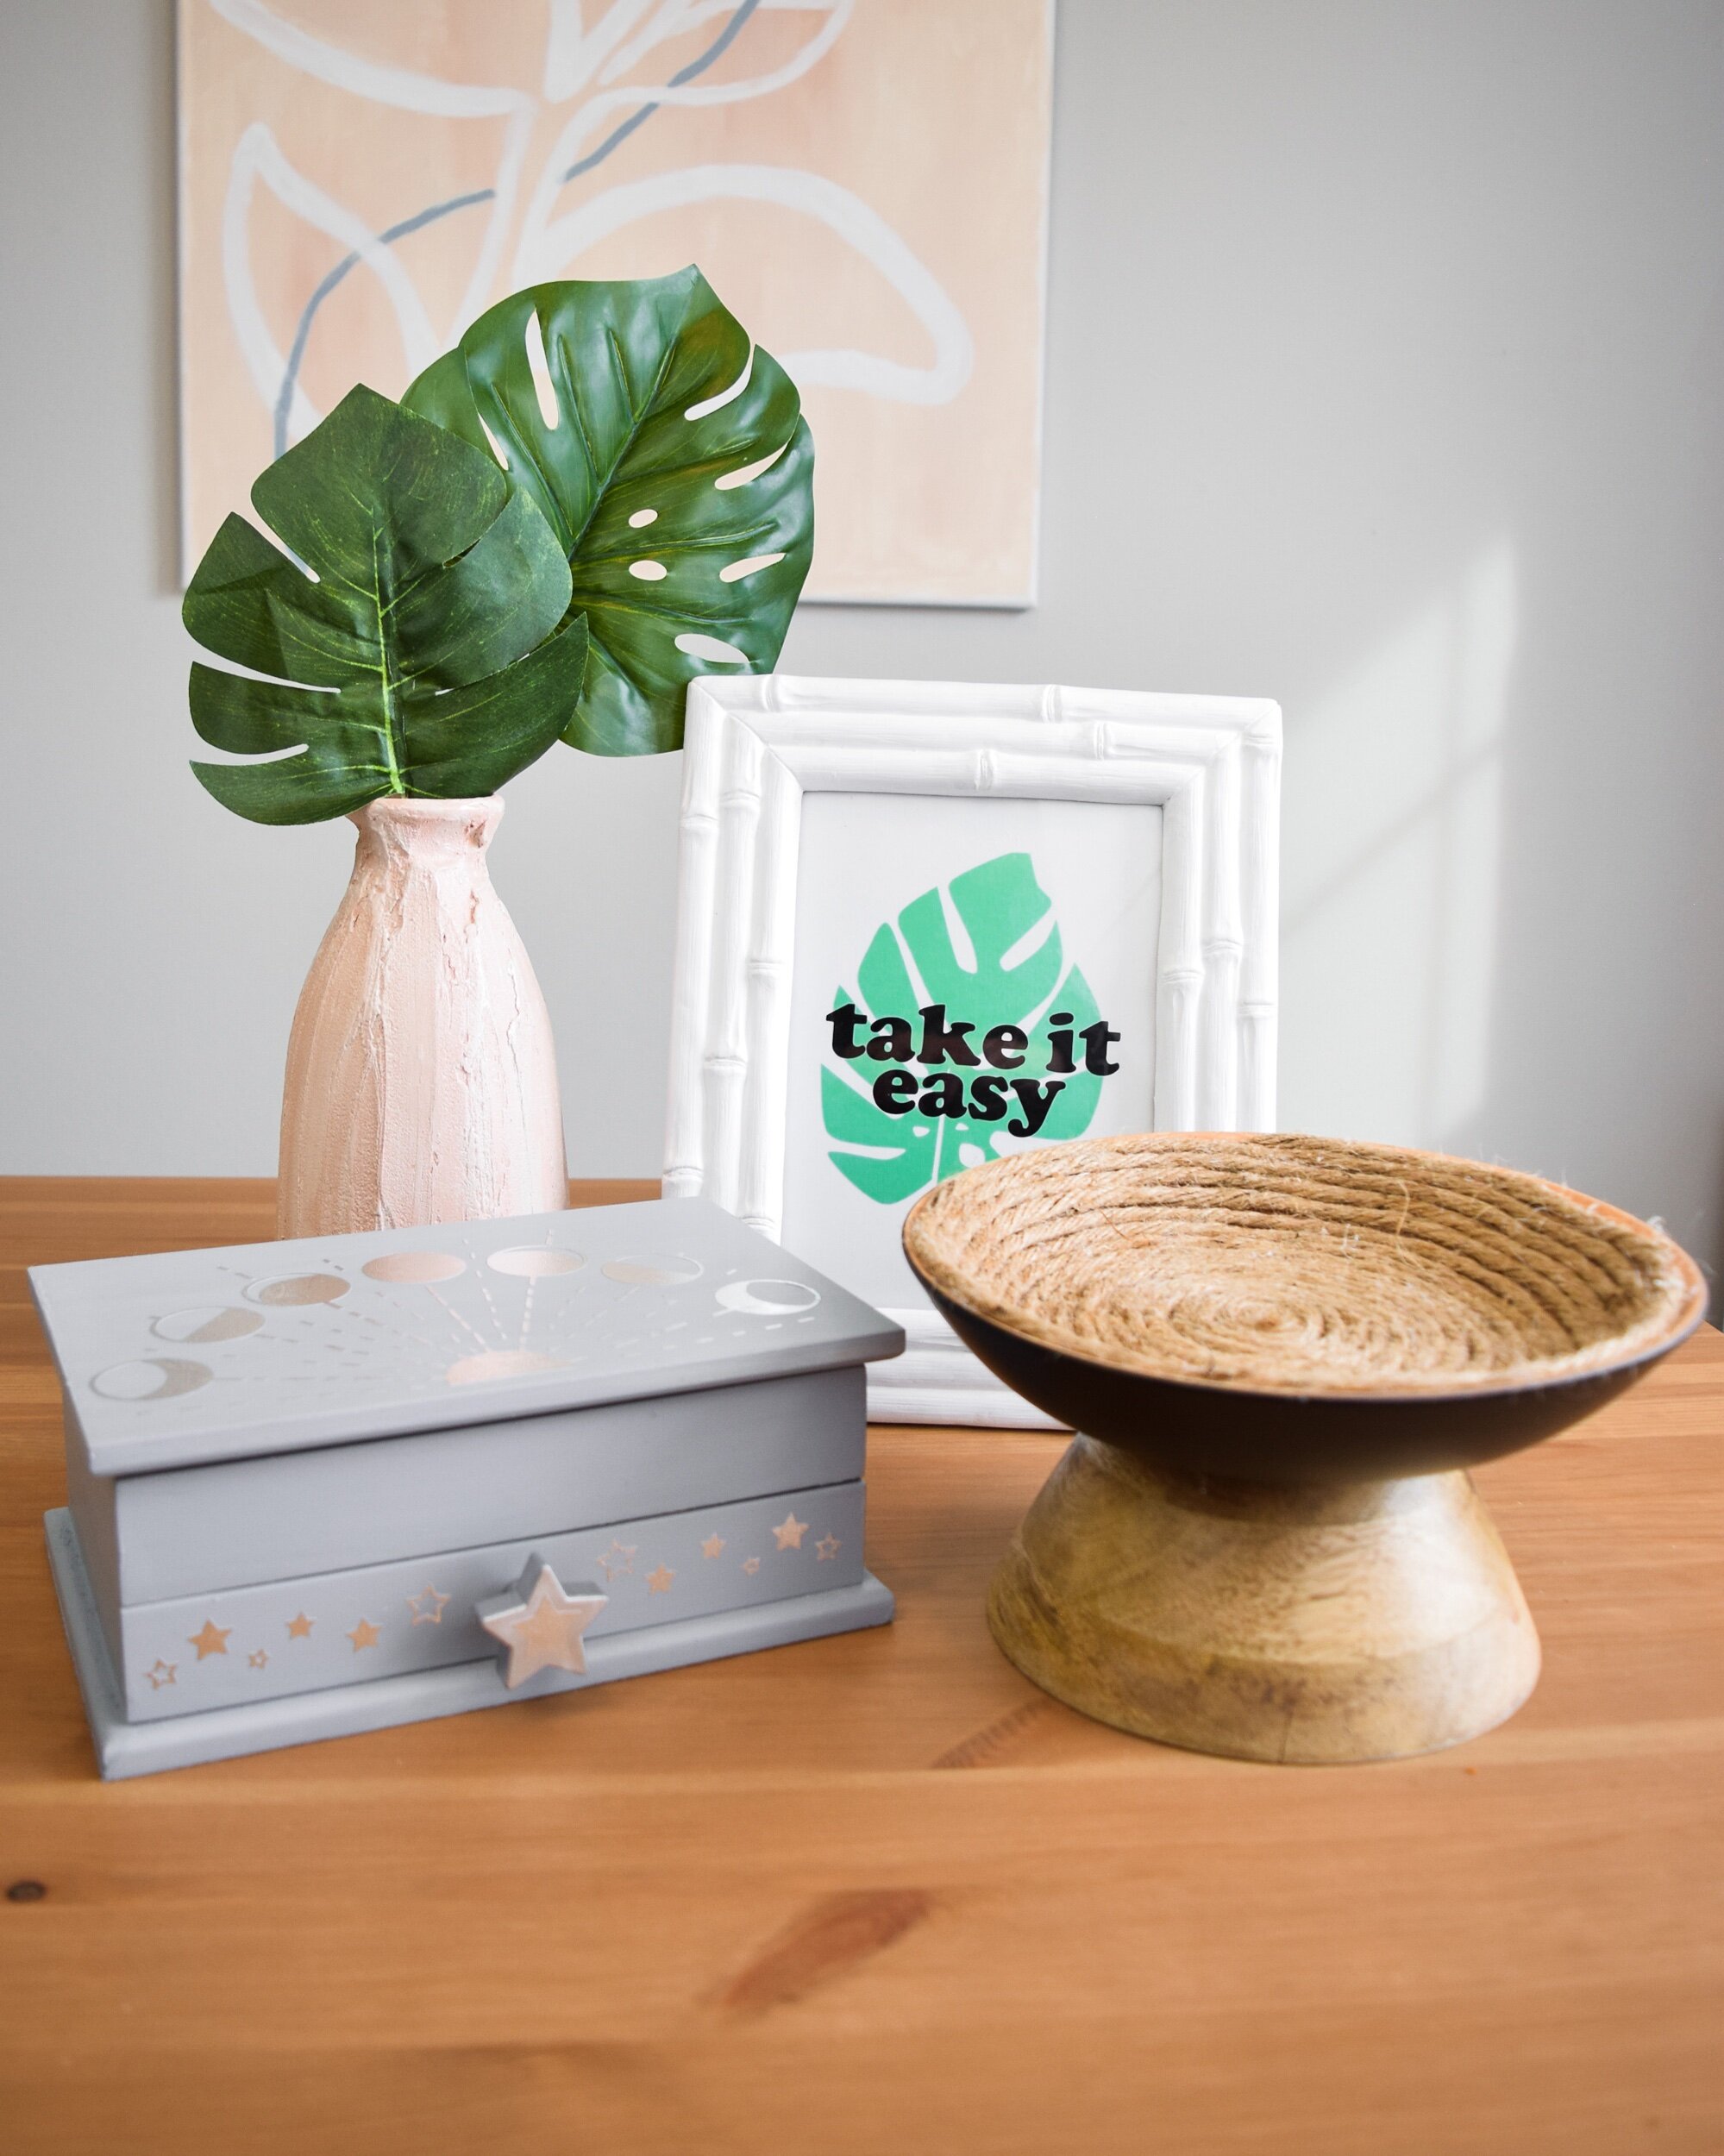
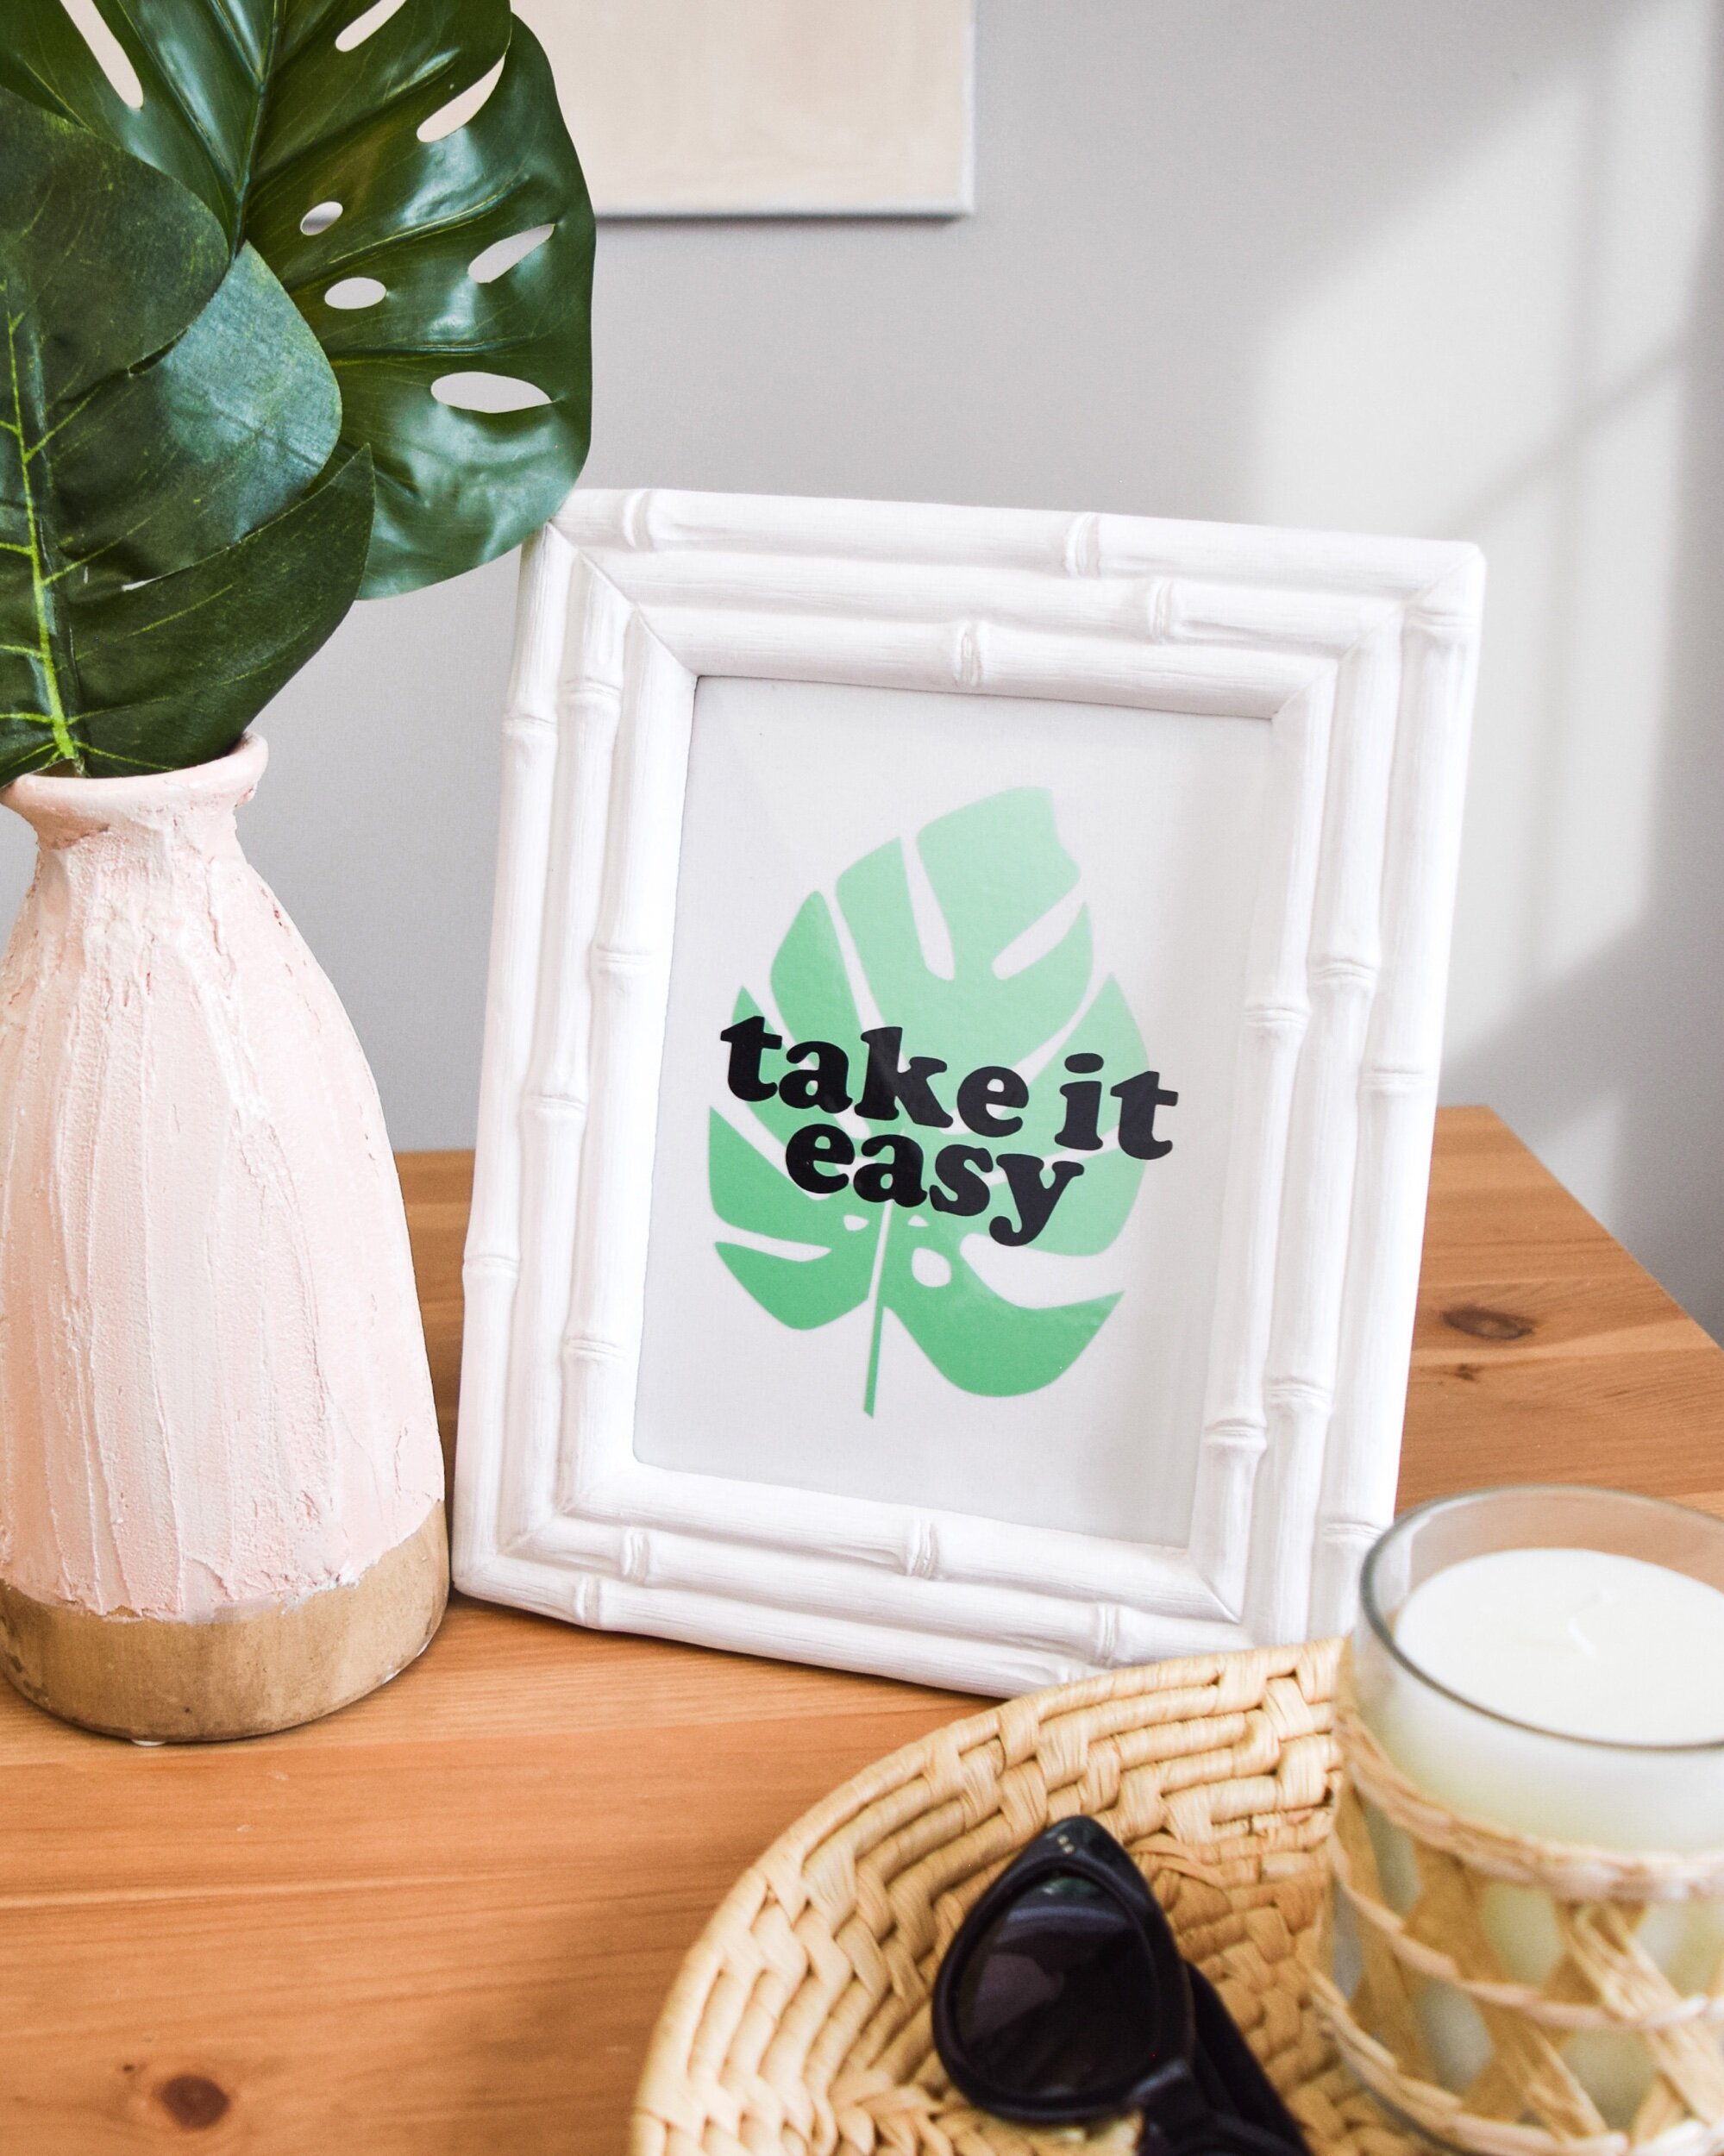
So watch the video below to find out how I transformed some basic thrifted items into much cuter decor! After the video, I’ve included all the custom Cricut designed I used in this video, along with a brief tutorial on how to upload them into Design Space.
Ok before getting into the downloadable files, here are all the supplies I used in the video:
Easy Press 2
Easy Press mat
Black permanent vinyl
Summer Pearl Metallic Sampler
Textured Metallic Vinyl Sampler
White iron-on vinyl
Transfer tape
Downloadable .PNG Files for Cricut!
All you have to do with the images below is right click and choose “Save As” (or tap and hold until save image appears on your mobile device) to get started using these files.
Take it Easy Leaf
The font I used for this project is Cooper Black, which was an Adobe font on already installed on my computer. A similar free font in Design Space is:
Moon phase design
Stay Crafty design
How to add custom images into Design Space
In case bringing custom images into Design Space is new to you, here is a brief tutorial on how to do it!
1) Once you launch design space, open a new project, then click “Upload” on the lefthand tool bar.
2) Then you want to click “Upload Image.”
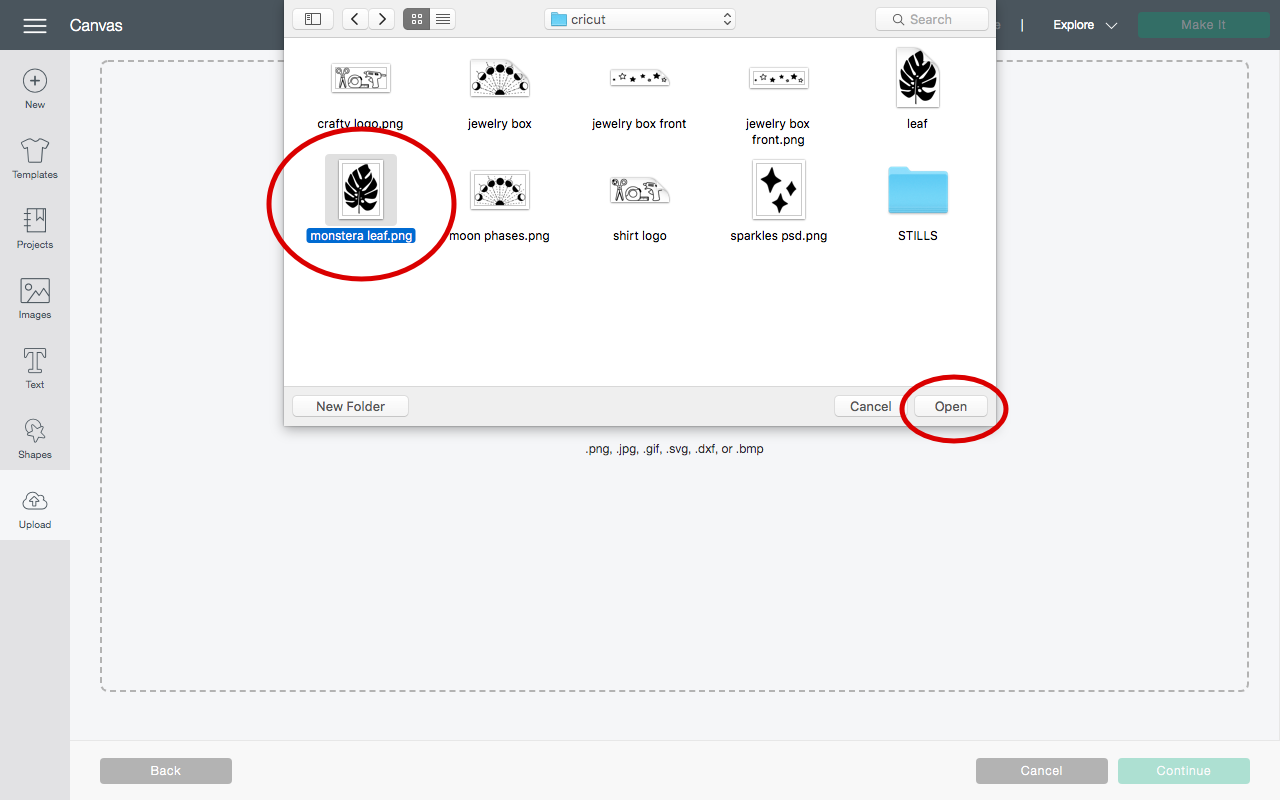
3) Next, select the image you saved to your computer, then click open.
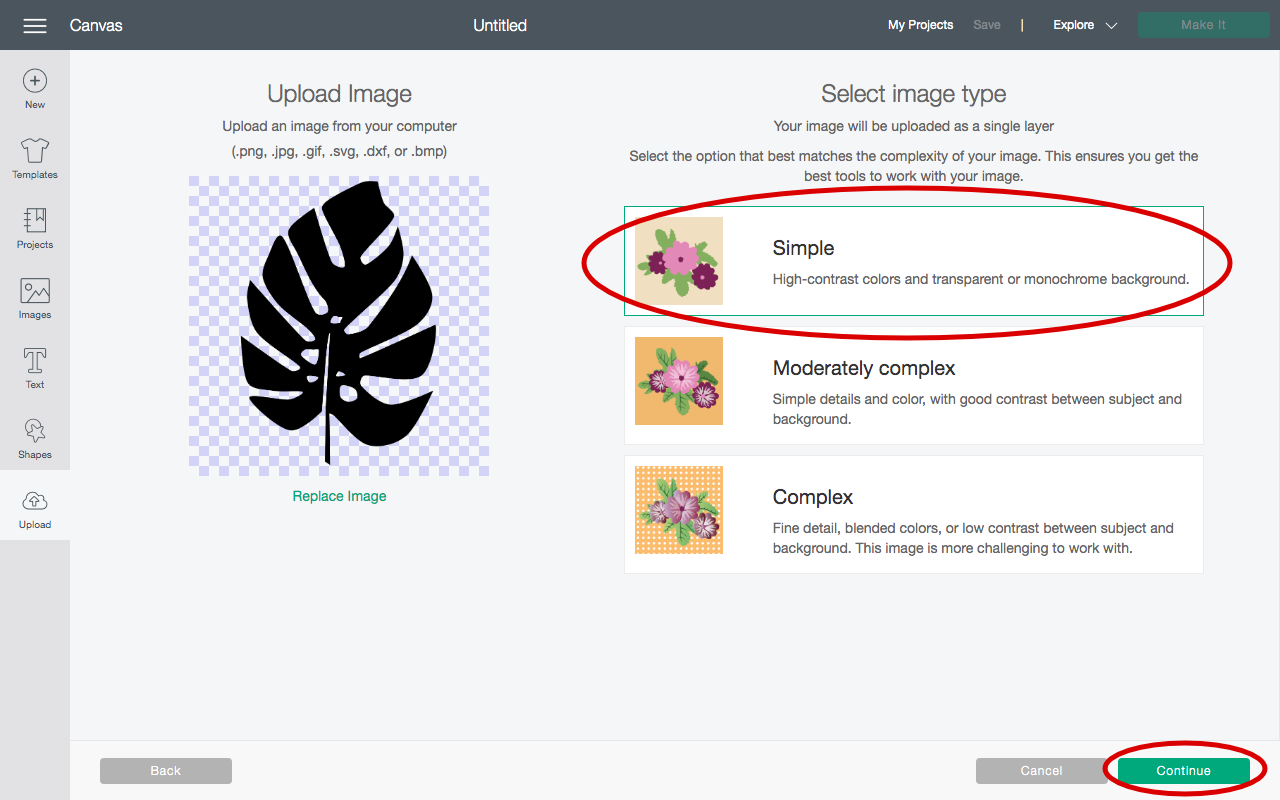
4) Now, the designs I’m sharing with you are already optimized for Cricut cutting, so you can click “Simple” when selecting image type. Depending on your design, you may need the other two options. Then click continue.
5) You’ll then be taken to a “Select & erase” window, you don’t have to worry about anything here with my designs, just click continue. (Again, you may need to use this option depending on the image you are uploading)
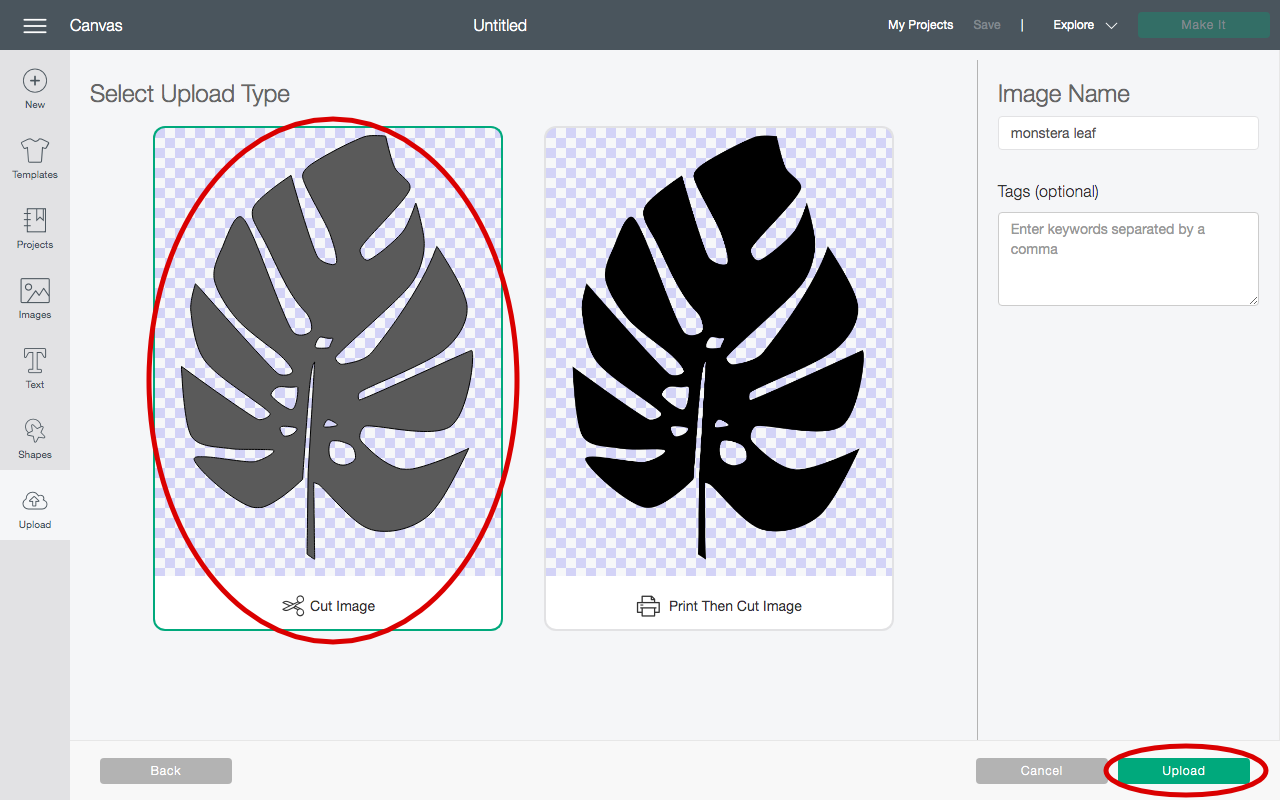
6) Next, just click “Cut image” and then “Upload” and your design will be ready to be selected and brought into your project!
So that’s everything! I hope you enjoy the designs I shared. I think they could be used for so much more than just these specific thrift flips. I really want to put the moon phase design onto a makeup pouch. Also that leaf print would be so cute on a throw pillow!
If you haven’t already, check out my YouTube channel and subscribe here, I post new videos every single week. ✦
pin me!
Actually Alli is a DIY and home decor blog to help you craft your dream life through DIYs and home decor, all while on a budget. Here you’ll find DIY tutorials, home and apartment inspiration. ✦

