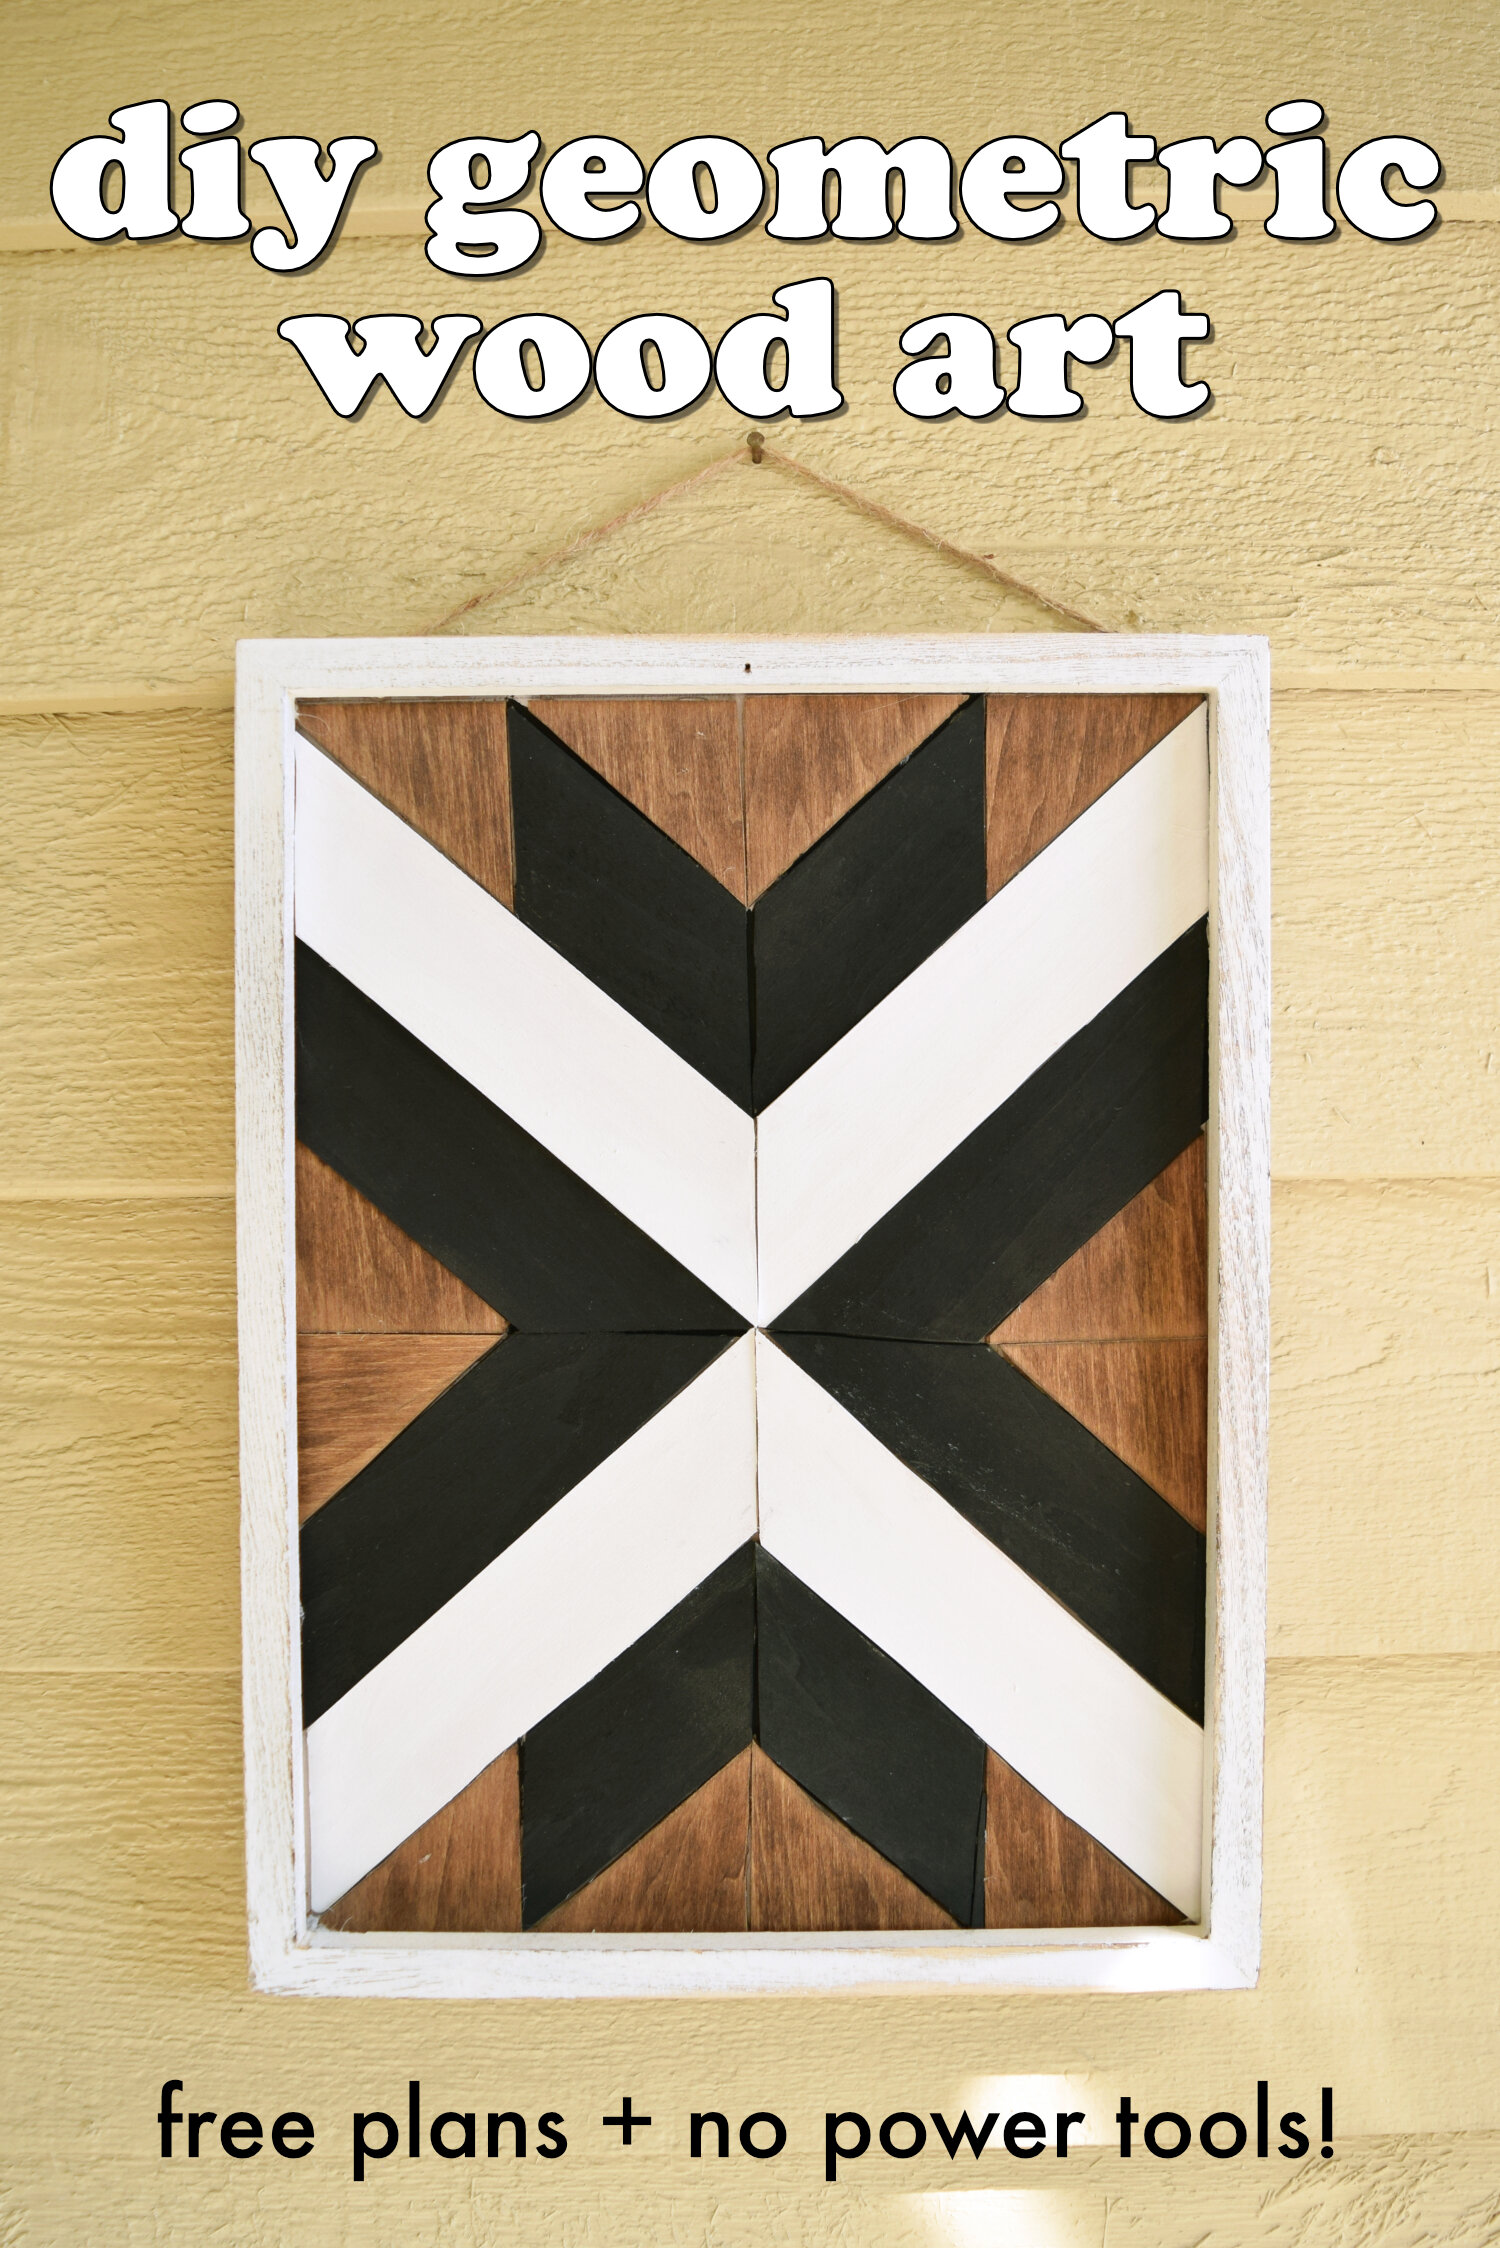
DIY Geometric Wood Art (With FREE Pattern)
I’ve been seeing lots of those geometric wood signs and wall art all over Pinterest and I think they’re so pretty! Especially when they’re painted with bold patterns. I knew I needed to DIY one myself to put out on my patio!
I don’t have any power tools and I had a craft wood sign and some balsa wood that’s been in my stash for… probably like a year or more… So I decided that crafting one of these signs is the best thing to put those supplies to use!
To find out how to make this easy wood sign, watch the video below! I’ve then included free downloadable patterns at the bottom of this post.
Supplies
Wood sign (mine was 12x16)
The pattern you can find at the bottom of this post!
4-5 pieces of Balsa Wood, which is super easy to cut and found at the craft store
Utility knife
Tape measure
Pencil
Scissors
Pattern
Ruler
Early American wood stain
Black acrylic paint
White acrylic paint
Hot glue or wood glue
Instructions:
1) First, I measured the inside dimensions of my wood sign, which came to 10 ¾ x 14 ⅝.
2) That’s how I created this pattern which is one quarter of the sign. You can find this linked in my description. I’ve made it so you can bring the image into any program and adjust the dimensions to the size of your sign.
3) As you cut out the pattern, be sure to keep the pieces in the correct order to prevent confusion.
4) Now it’s as simple as using the pattern to cut out your pieces. The pattern starts with the pieces in top left corner. I laid the paper onto the balsa wood, traced it, then used to a ruler to cut out a nice straight line. (Also I want to say be super careful using a utility knife. I’ve sped up the video a bit, so go nice and slow and keep your fingers out of the way!)
6) Just as a few tricks I learned while cutting, it’s easier to cut the whole board down to the width of the pieces so all you have to do is cut the angled pieces, which goes a lot faster. It’s also incredibly helpful to label the back of each piece to know where they’ll go when it’s time to assemble.
7) Now to make the other sides of the sign, you can take the pattern and flip the pieces to the mirror of the side you just worked on.
8) Then repeat the same process until you have the remaining 3 sides. Since this is super repetitive, I’m going to finish this off camera and see you when the pieces are done.
9) Once the pieces are all cut, it’s time to paint the pieces. The pattern is labeled with what color the pieces need to be painted. Of course, you can customize the colors to whatever you want. Also, as you paint, make sure to keep the pieces in their correct order.
10) As the painted pieces are drying, take the remaining pieces, which are all the small triangles and stain them. I’m using Early American stain, which is my favorite. Let the stain dry for a few hours before moving on.
11) So… I’ll admit there were a few pieces I got mixed up while working on my project and so, I ended up actually prying the frame of the sign off just to make sure everything lined up when I glued the pieces. So please… label everything and keep things in order. I can’t stress it enough!
12) I used hot glue to attach the pieces. You could also use wood glue.I started with the white pieces to center everything up and then moved outward from there.
13) Once I was finished gluing down the people, I reattached the frame and backing with hot glue
Pattern:
This first pattern is if your wood sign happens to be the exact same measurements as mine. It’s a PDF file downloadable by clicking the button below.
Now if your sign is NOT the same size as the one I used, and you have Photoshop or a similar program (I think you can even use Microsoft Word), you can resize this JPEG image to fit 1/4 of the size of your board.
Just click the button below!
Thanks for stopping by! If you want to follow along on my latest videos or just my life, here’s my social media handles!


