DIY Easy Dollar Tree Halloween Decor
It’s October, the weather is getting colder… and spooky season is here! Halloween is my favorite time of year (more so than Christmas), and so I’m celebrating with a week’s worth of DIYs and content!
So to kick off what I like to call HalloWeek, I’m sharing a few Dollar Tree DIYs.
I love Dollar Tree DIYs because they’re easy to make and also very affordable! If you want to see what I created, watch the video below. I’ve also included some text instructions below the video!
DIY Copper Pumpkin Lantern
Supplies:
1 tall, plastic container
A utility and/or craft knife
A candle or lighter
Copper spray paint
Black wire
Instructions:
I started with a tall food containers from, of course, Dollar Tree. You’re looking for any kind of tall, plastic container.
Next, I heated the knife with a candle flame and then very carefully cut the top lip off the container. If you do this DIY, use caution and cut away from yourself. I’m not a professional, so do any knife work at your own risk!
Next, I drew on the face of the pumpkin
Once that was done, I took a craft knife and heated it with the flame to cut through the plastic easier. I also found that if you heat the plastic above the flame too, it will cut much smoother.
Once the face was cut out, I gave the container two coats of copper spray paint.
Next, I cut some black wire to make into a handle.
Carefully use the craft knife to poke two holes in the sides of the container so the wire can be attached.
Then I used a pencil to wrap coil the wire and added a few bends randomly just because I thought that would add some character.
And that’s it! Just add a battery-operated tea light and it’s the perfect addition to your Halloween decor
Halloween Snake Planter
This has to by my favorite DIY in the video because I love my snake plant and thought it was so clever. So here’s how I did it:
Supplies:
Metal Dollar Tree container (or any sort of flower pot will work! It might even work better if you use a plastic container instead!)
1 pack of Dollar Tree Halloween party favor snakes
Hot glue
Matte black spray paint
Glossy black spray paint
Scissors (to cut down any of the snakes, if you choose)
Optional: Tiny red rhinestones to create eyes
Instructions:
First I removed the ghost decal off the container.
I decided to use this ultra matte black Rustoleum paint for the container.
I then used high gloss black spray paint for the snakes to create a contrast in textures.
Once I gave both the snakes and container two coats of paint, and let it dry, I began gluing the snakes down with hot glue. Admittedly, the hot glue really didn’t want to hold the snakes, so if I find a better solution, I will update that here.
For a finishing detail, I used teeny tiny rhinestones to add eyes to the snakes
Mummy-inspired Foam Pumpkin Hack
Supplies:
1 Dollar Tree foam pumpkin
White chalk paint (or you can use acrylic)
Black acrylic paint
Dollar Tree rolled gauze
Hot glue
Optional: a sharpie, paint pen, or a fine brush and black paint
Instructions:
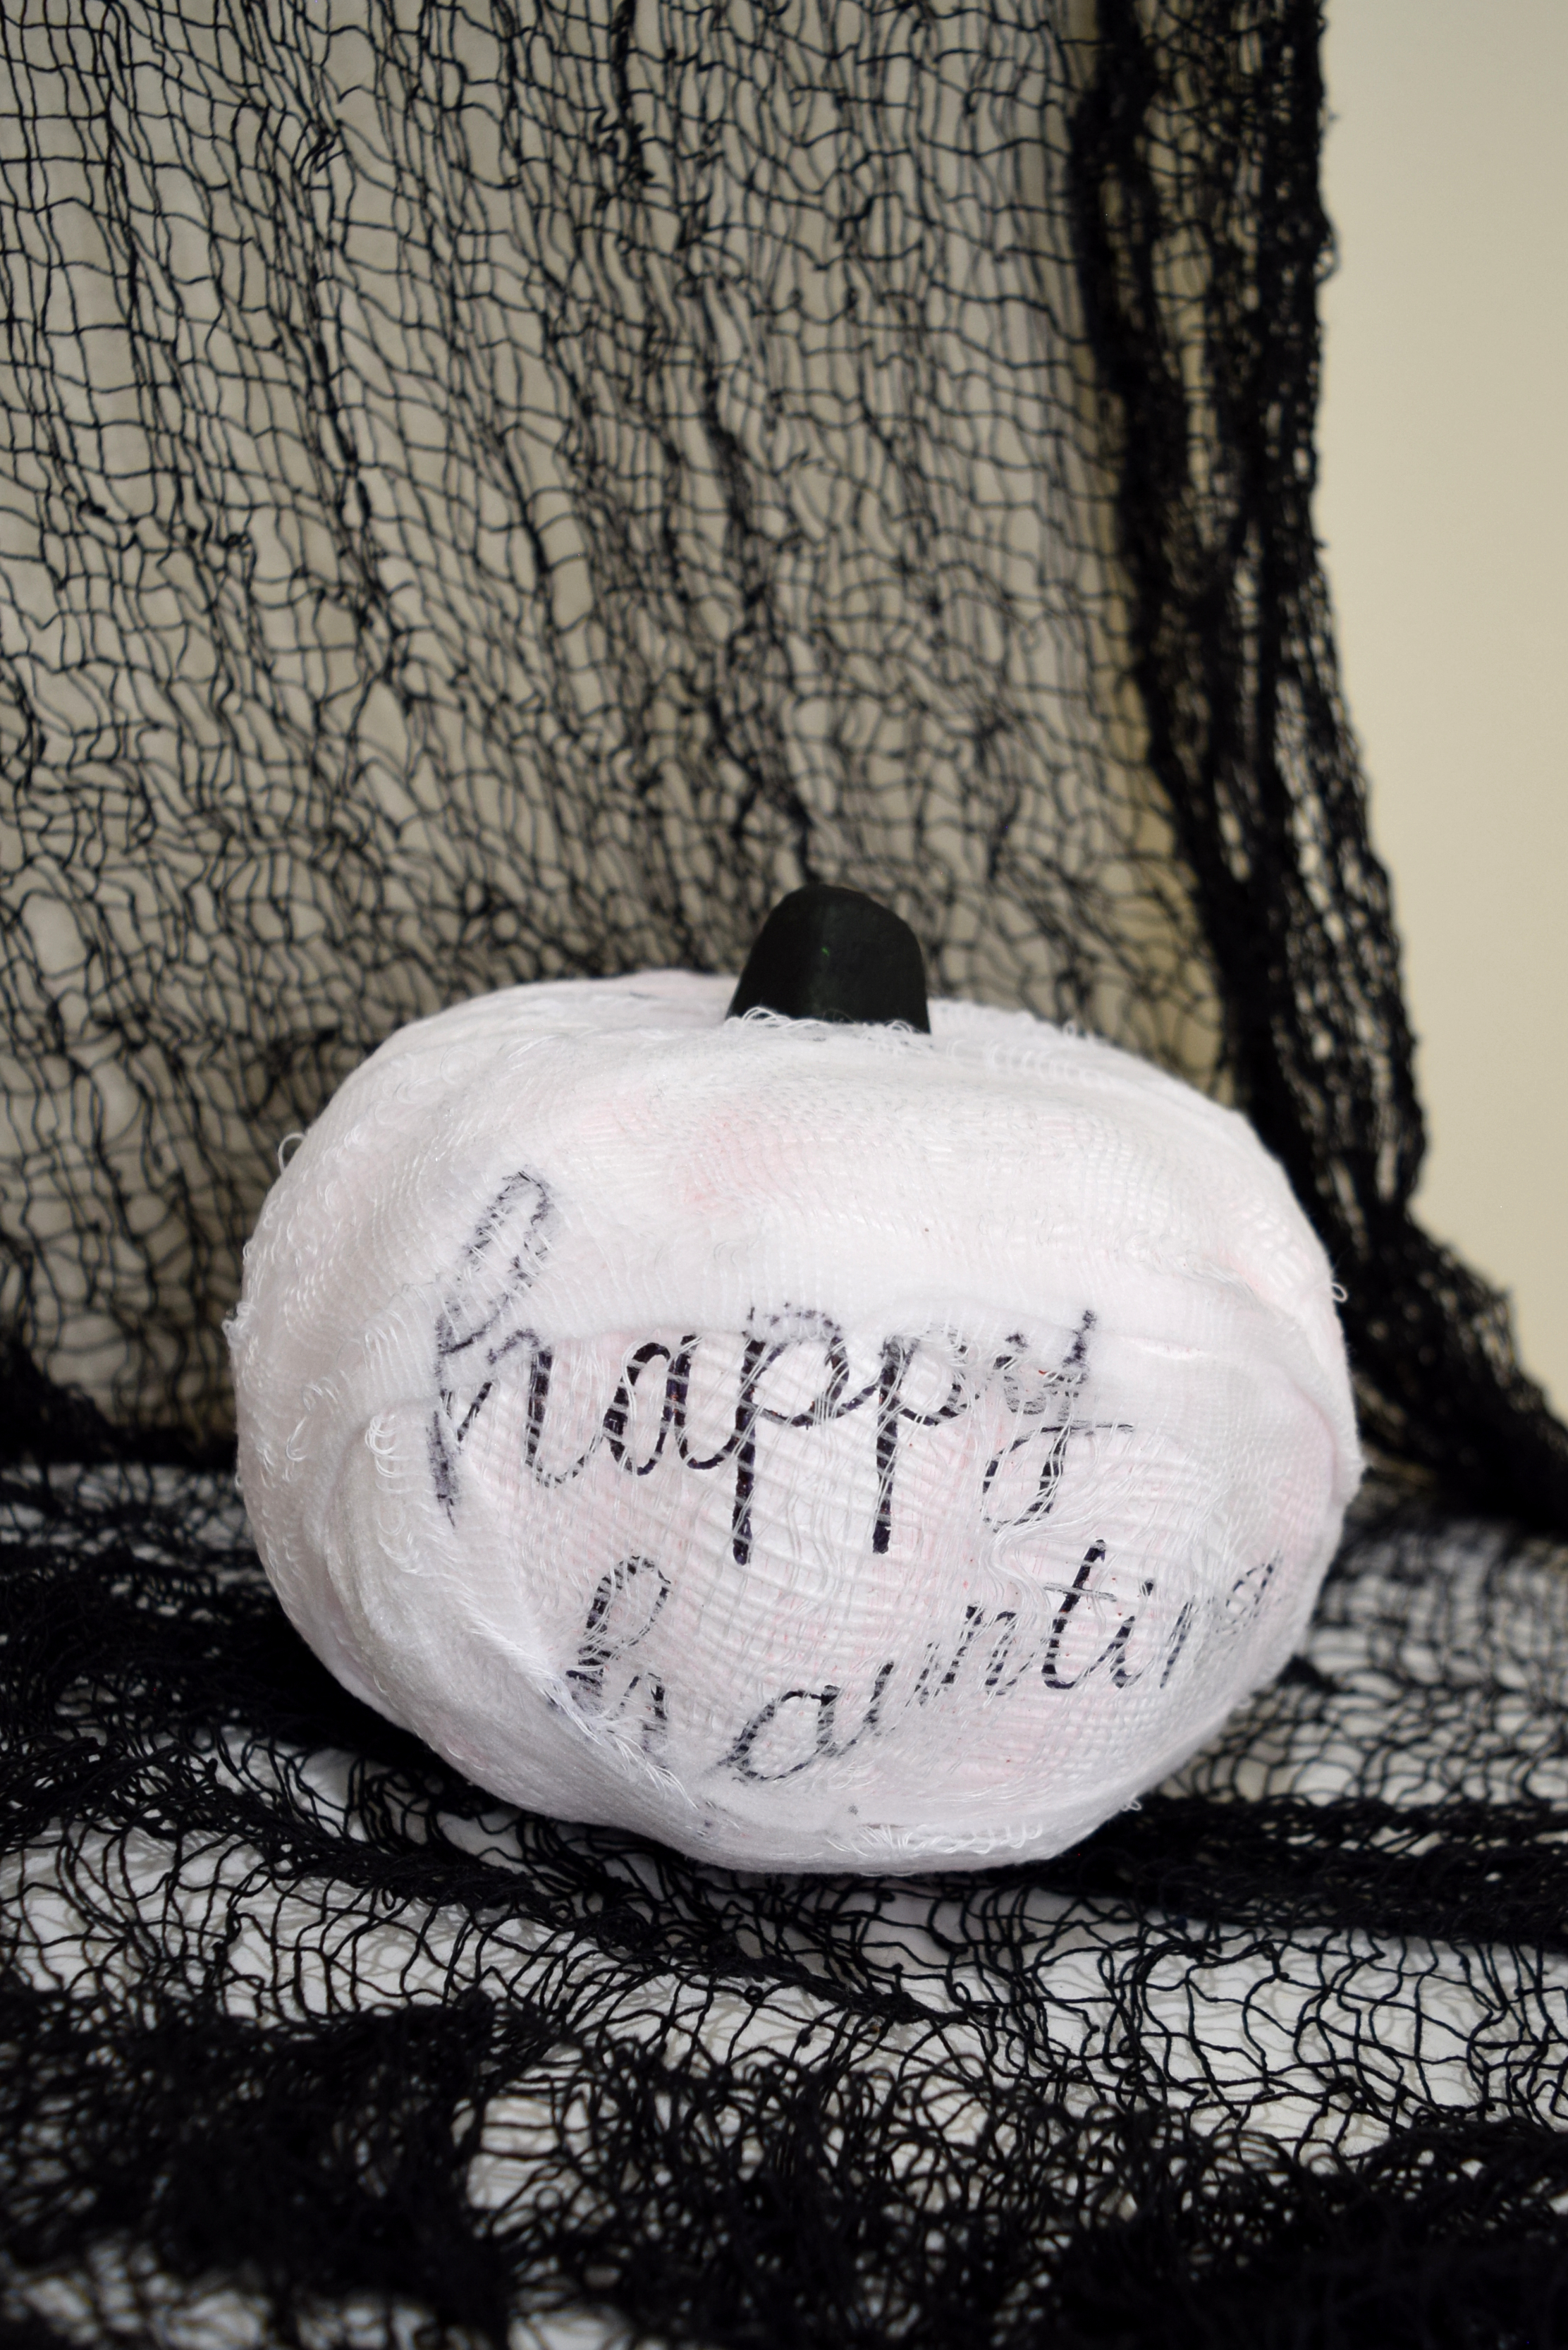
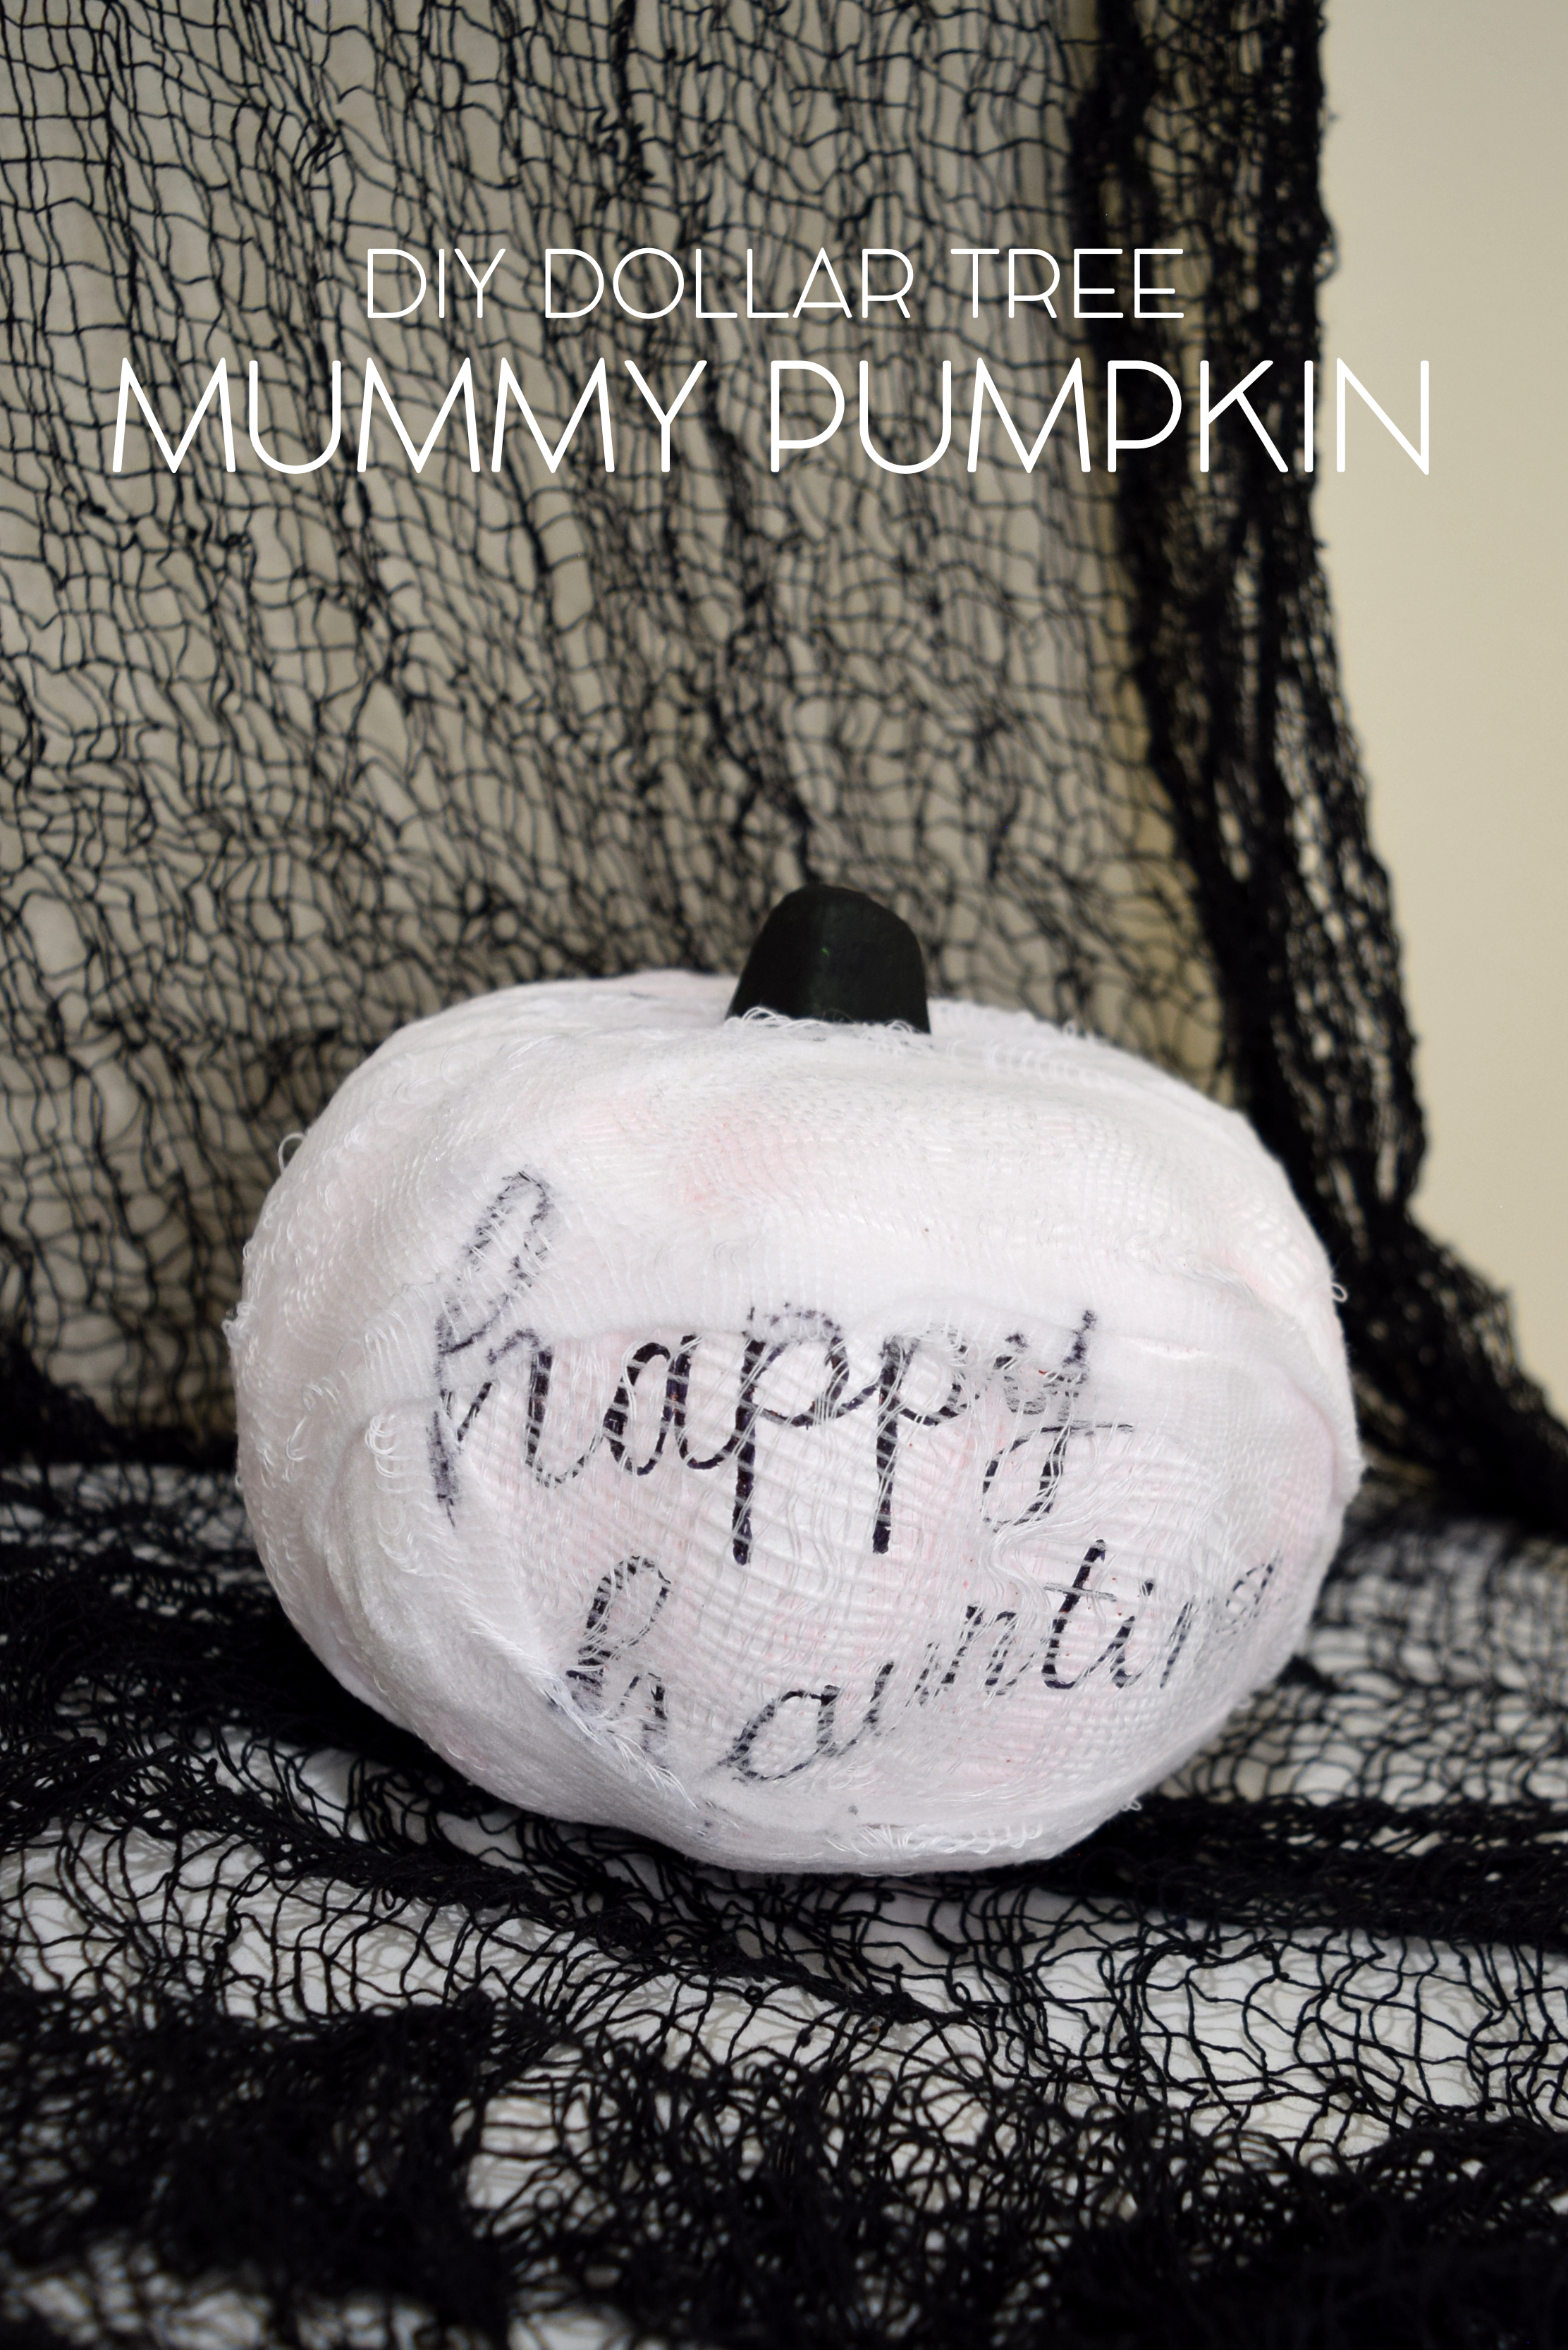
First, I removed the stem and painted it black.
After that, I painted the pumpkin with white chalk paint.
Once the paint dried, I used a permanent marker to write “happy haunting” onto the pumpkin. You could also use paint or a paint pen… or don’t have to write anything on it, and honestly I’m not sure I like the writing in the end result.
Then I took some rolled gauze from the Dollar Tree and stretched it out so it looked a little spookier
After that, I used some hot glue to attach the gauze and wrap it around the pumpkin.


