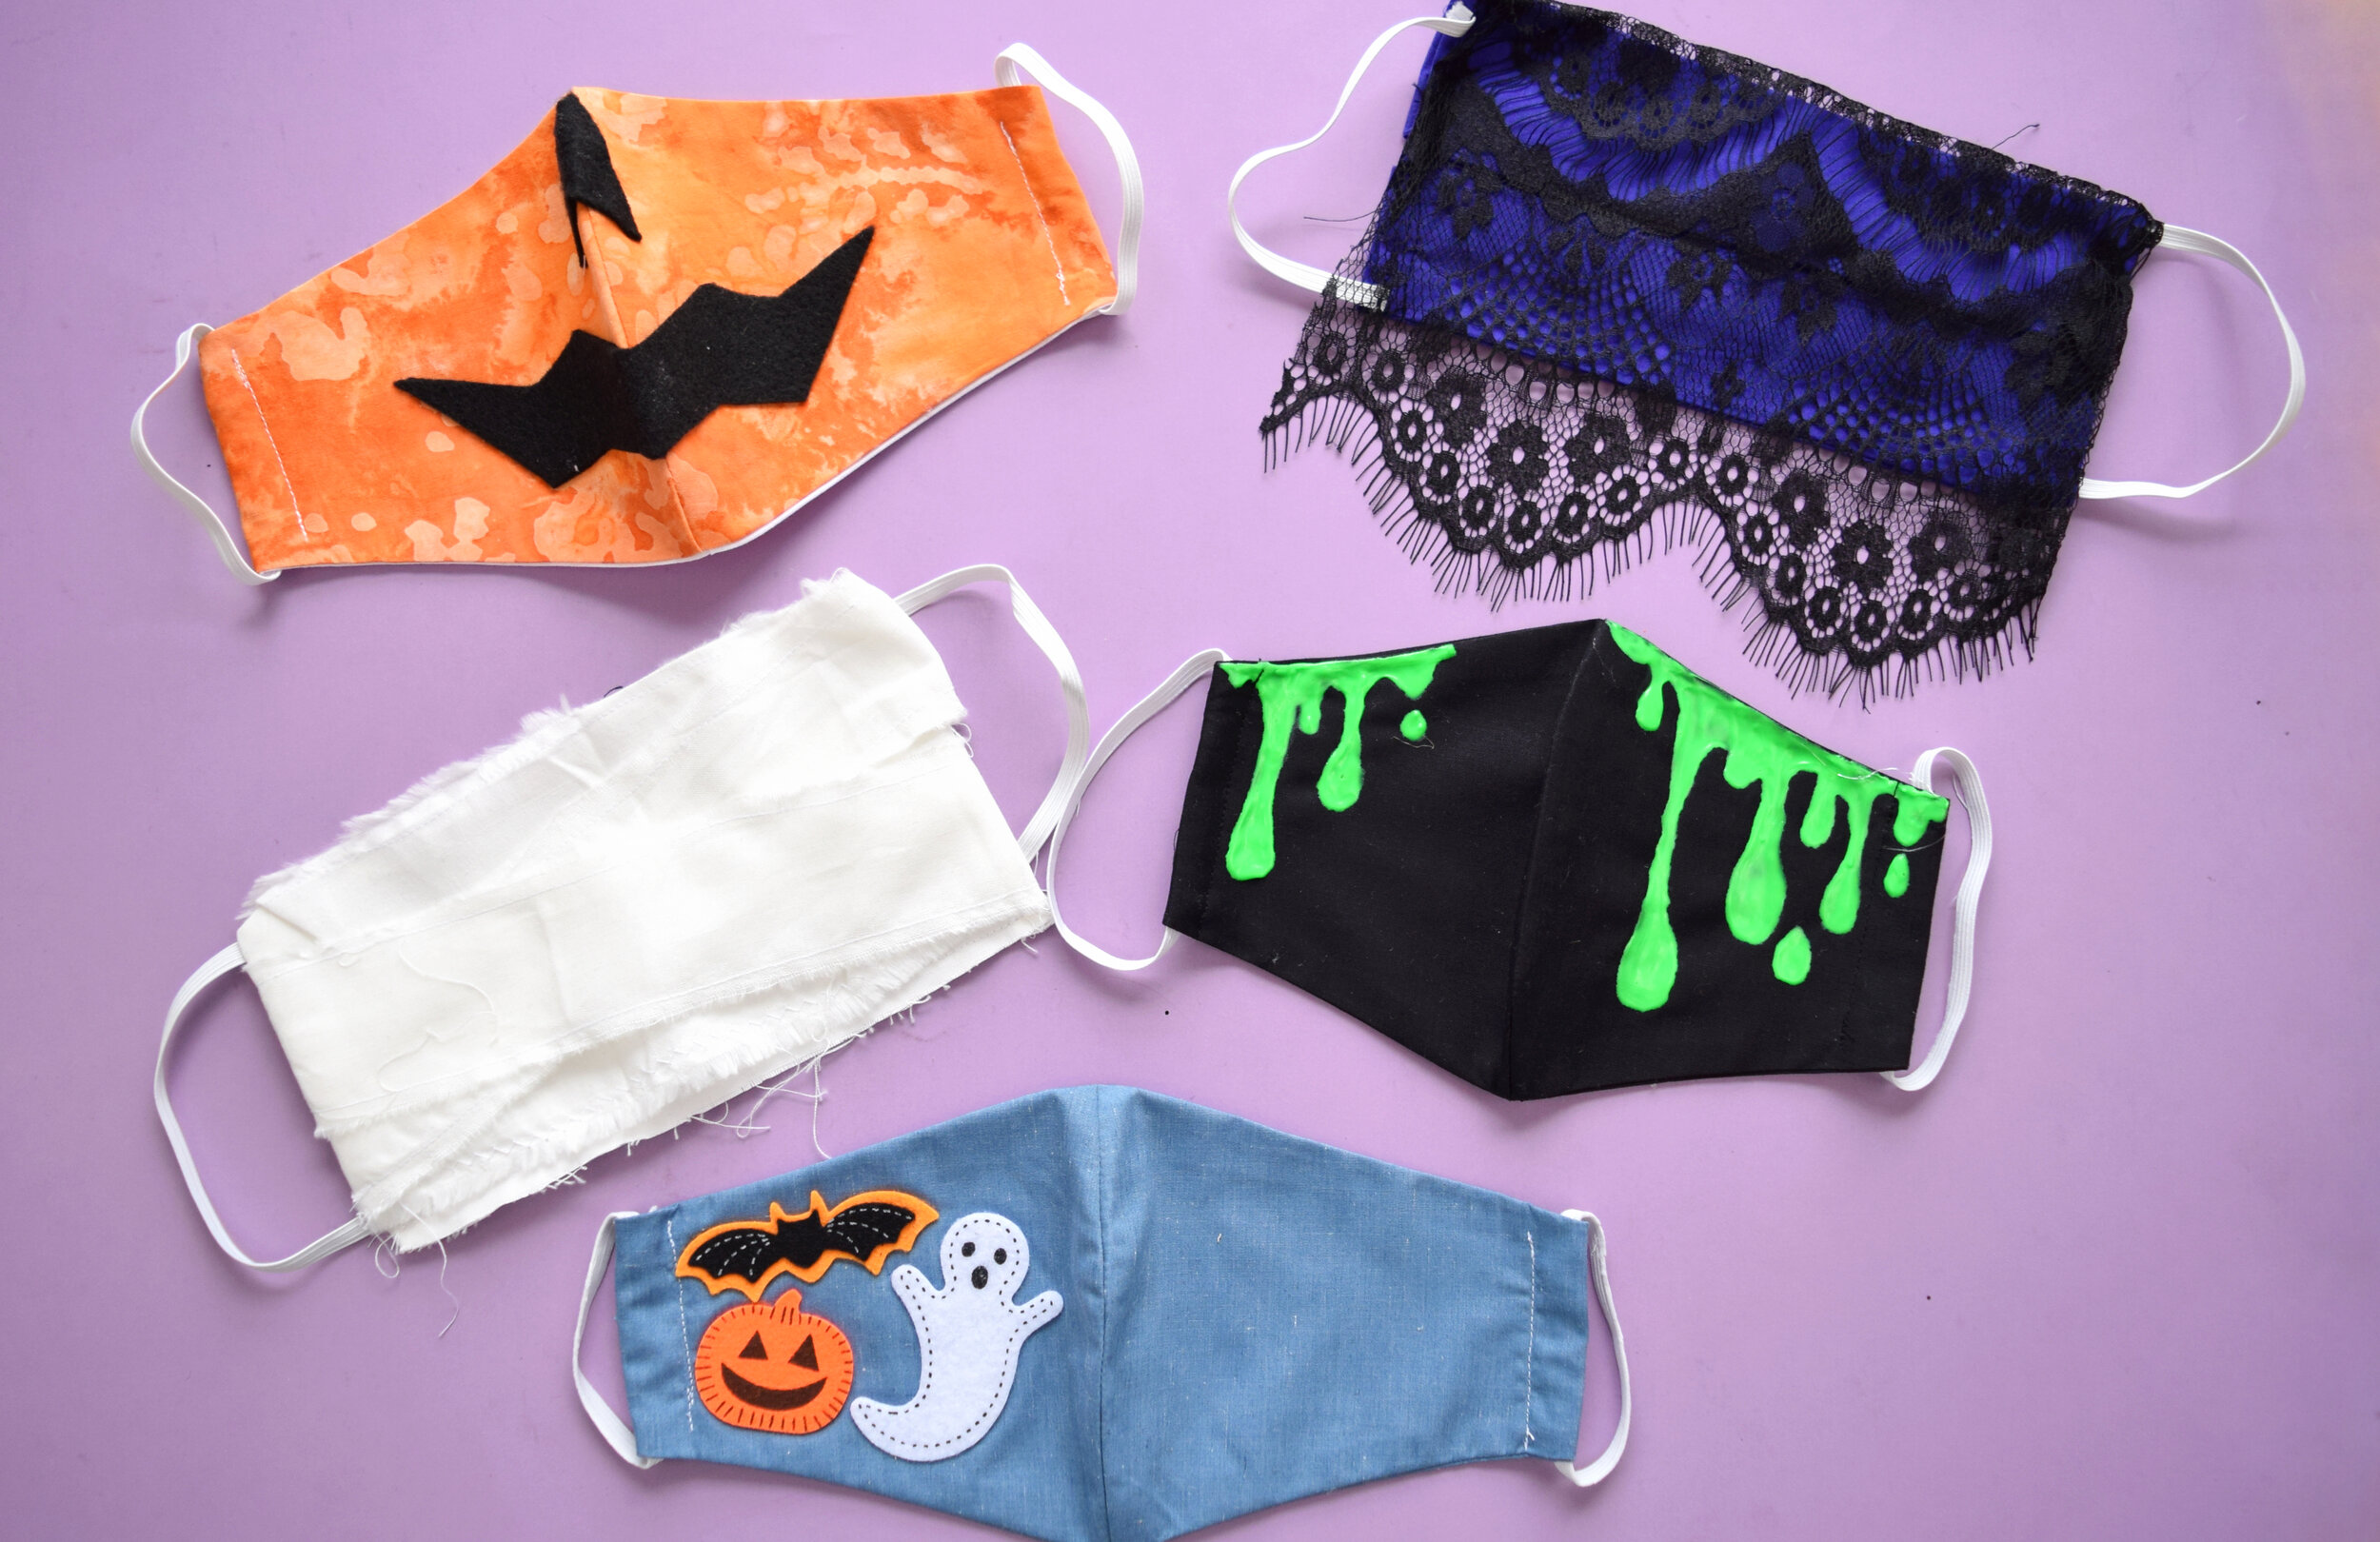
5 Easy DIY Halloween Face Masks
I’ll admit, I never thought I’d be making a post like this one. Usually at this time of year, I’m planning and sharing my Halloween costume ideas, but it just didn’t feel appropriate for 2020 (you know, with all the restrictions on large gatherings…). So I thought I’d make some coronavirus-friendly face masks so you can celebrate Halloween from a social distance!
I am sharing with you five easy, spooky (but totally cute) face mask ideas that I hope you will also want to recreate for the season.
I explain how to make each of these masks in the video below, and all the written instructions are below. If you check the video out on YouTube, there are timestamps in the description box to each mask.
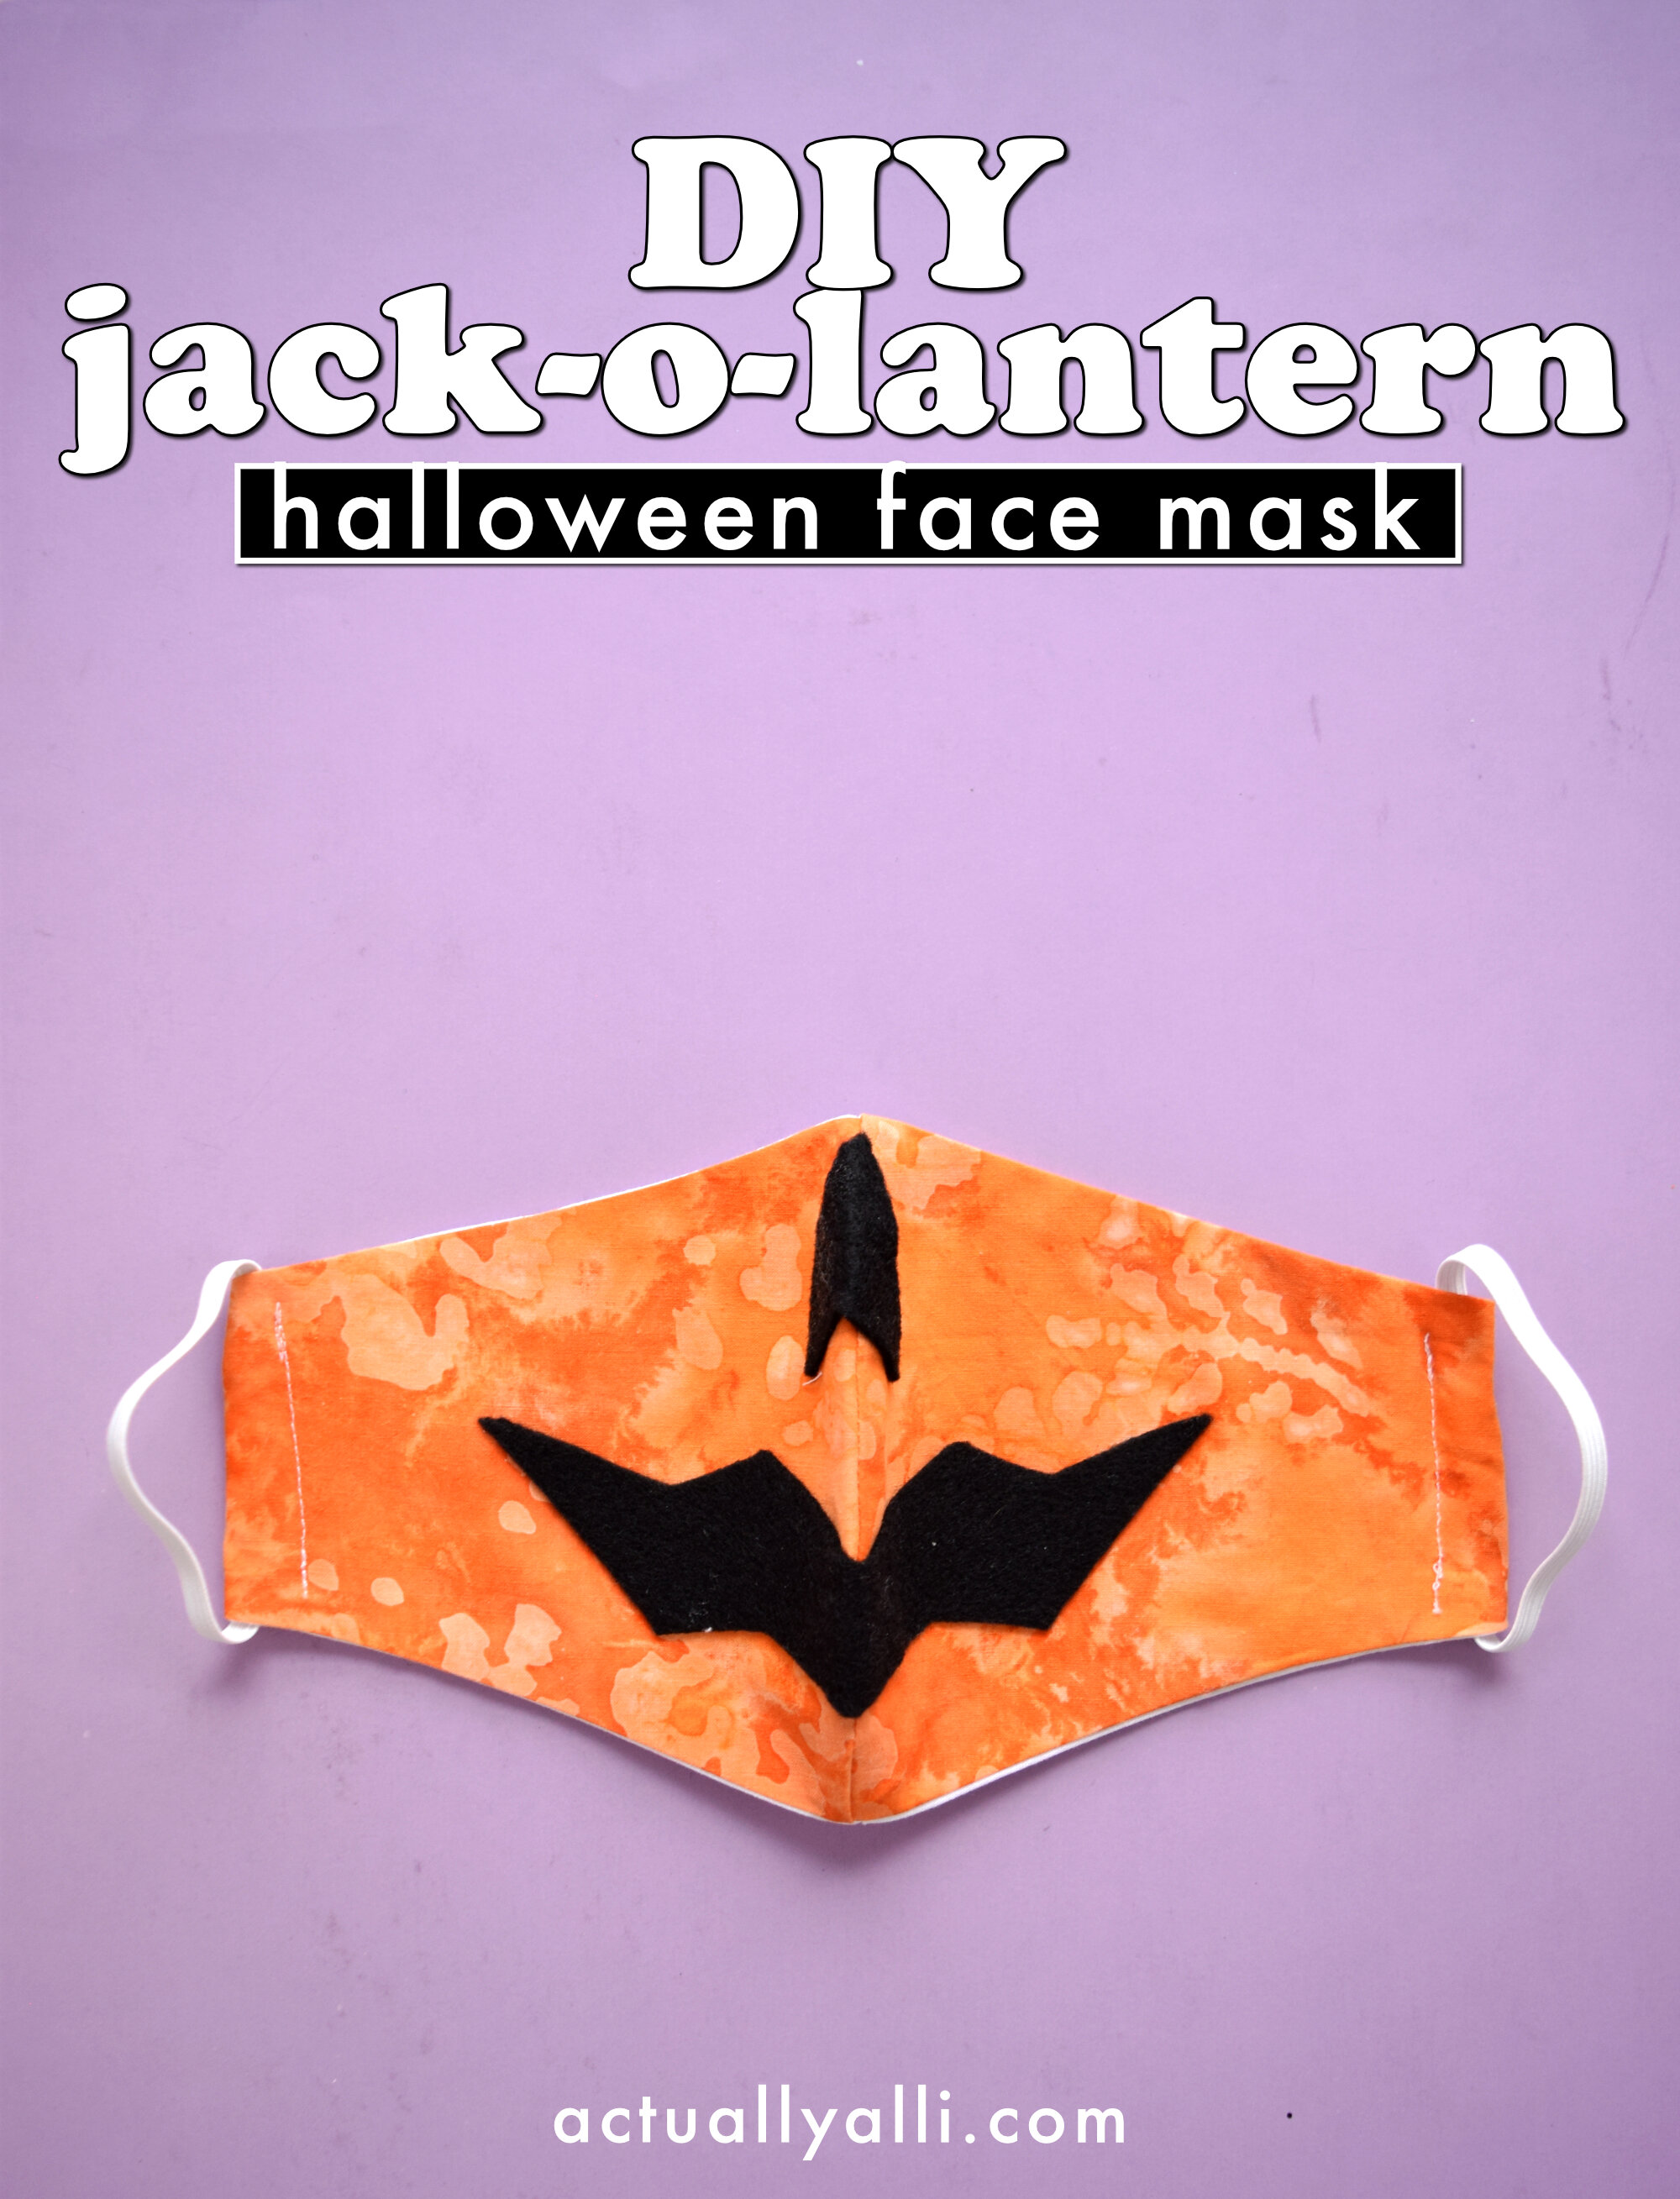
Mask 1: Jack-o-lantern face
I’m starting out showing you how to make the Olson style mask. I’m using this pattern I found on Treasurie. I cut my pattern slightly longer on the side to have extra room to size to my face.
1) First, fold your outer fabric in half, pin the pattern in place, trace around it, and cut it out. I’m using orange fabric because this will be a jack-o-lantern mask.
2) Repeat the same steps to cut out your inner mask piece. I’m using white to show you what I’m doing. You can use whatever color you want.
3) Pin the matching face mask pieces together along the curve, making sure the fabric is right-sides together. Then sew along the curve on both pieces.
4) After the curves are sewn, take the two mask pieces and pin them together right-sides together again and sew along the top and bottom.
5) Next, turn your mask right-side-out and press it flat with an iron.
6) At this point, try on your mask to determine how long the sides should be. You can trim the sides if needed. Then fold in the raw edge, fold over the fabric again and sew along the edge.
7) Insert your elastic through the tunnel you just made. Then what I do is overlap the elastic on the ends slightly, then sew it together going back and forth over the section with a zigzag stitch.
Now that you have your mask, it’s time to decorate it!
8) I’m using black felt to make the jack-o-lantern face. First, I cut out a small triangle for the nose, then cut out a zig-zag shaped jack-o-lantern mouth. You could cut these in whatever jack-o-lantern face shape you want!
9) Now I’m going to use permanent fabric glue to adhere the face to my mask. If you plan to wear and wash this mask a lot, I suggest sewing the face instead. I first applied glue to half the nose, then stuck it down on the corresponding half of the mask.
Fabric glue takes a while to dry, so I put a plastic baggie down on top of the mask, then put a few books on top so the felt and fabric could better fuse together.
10) After about 5 minutes, I removed the books and flipped the mask over and glued down the other side of the face. I used some Dollar Tree craft clamps to hold down the edges along the mask seam. Then repeated the plastic baggie and book trick.
Mask 2: Pumpkin patches
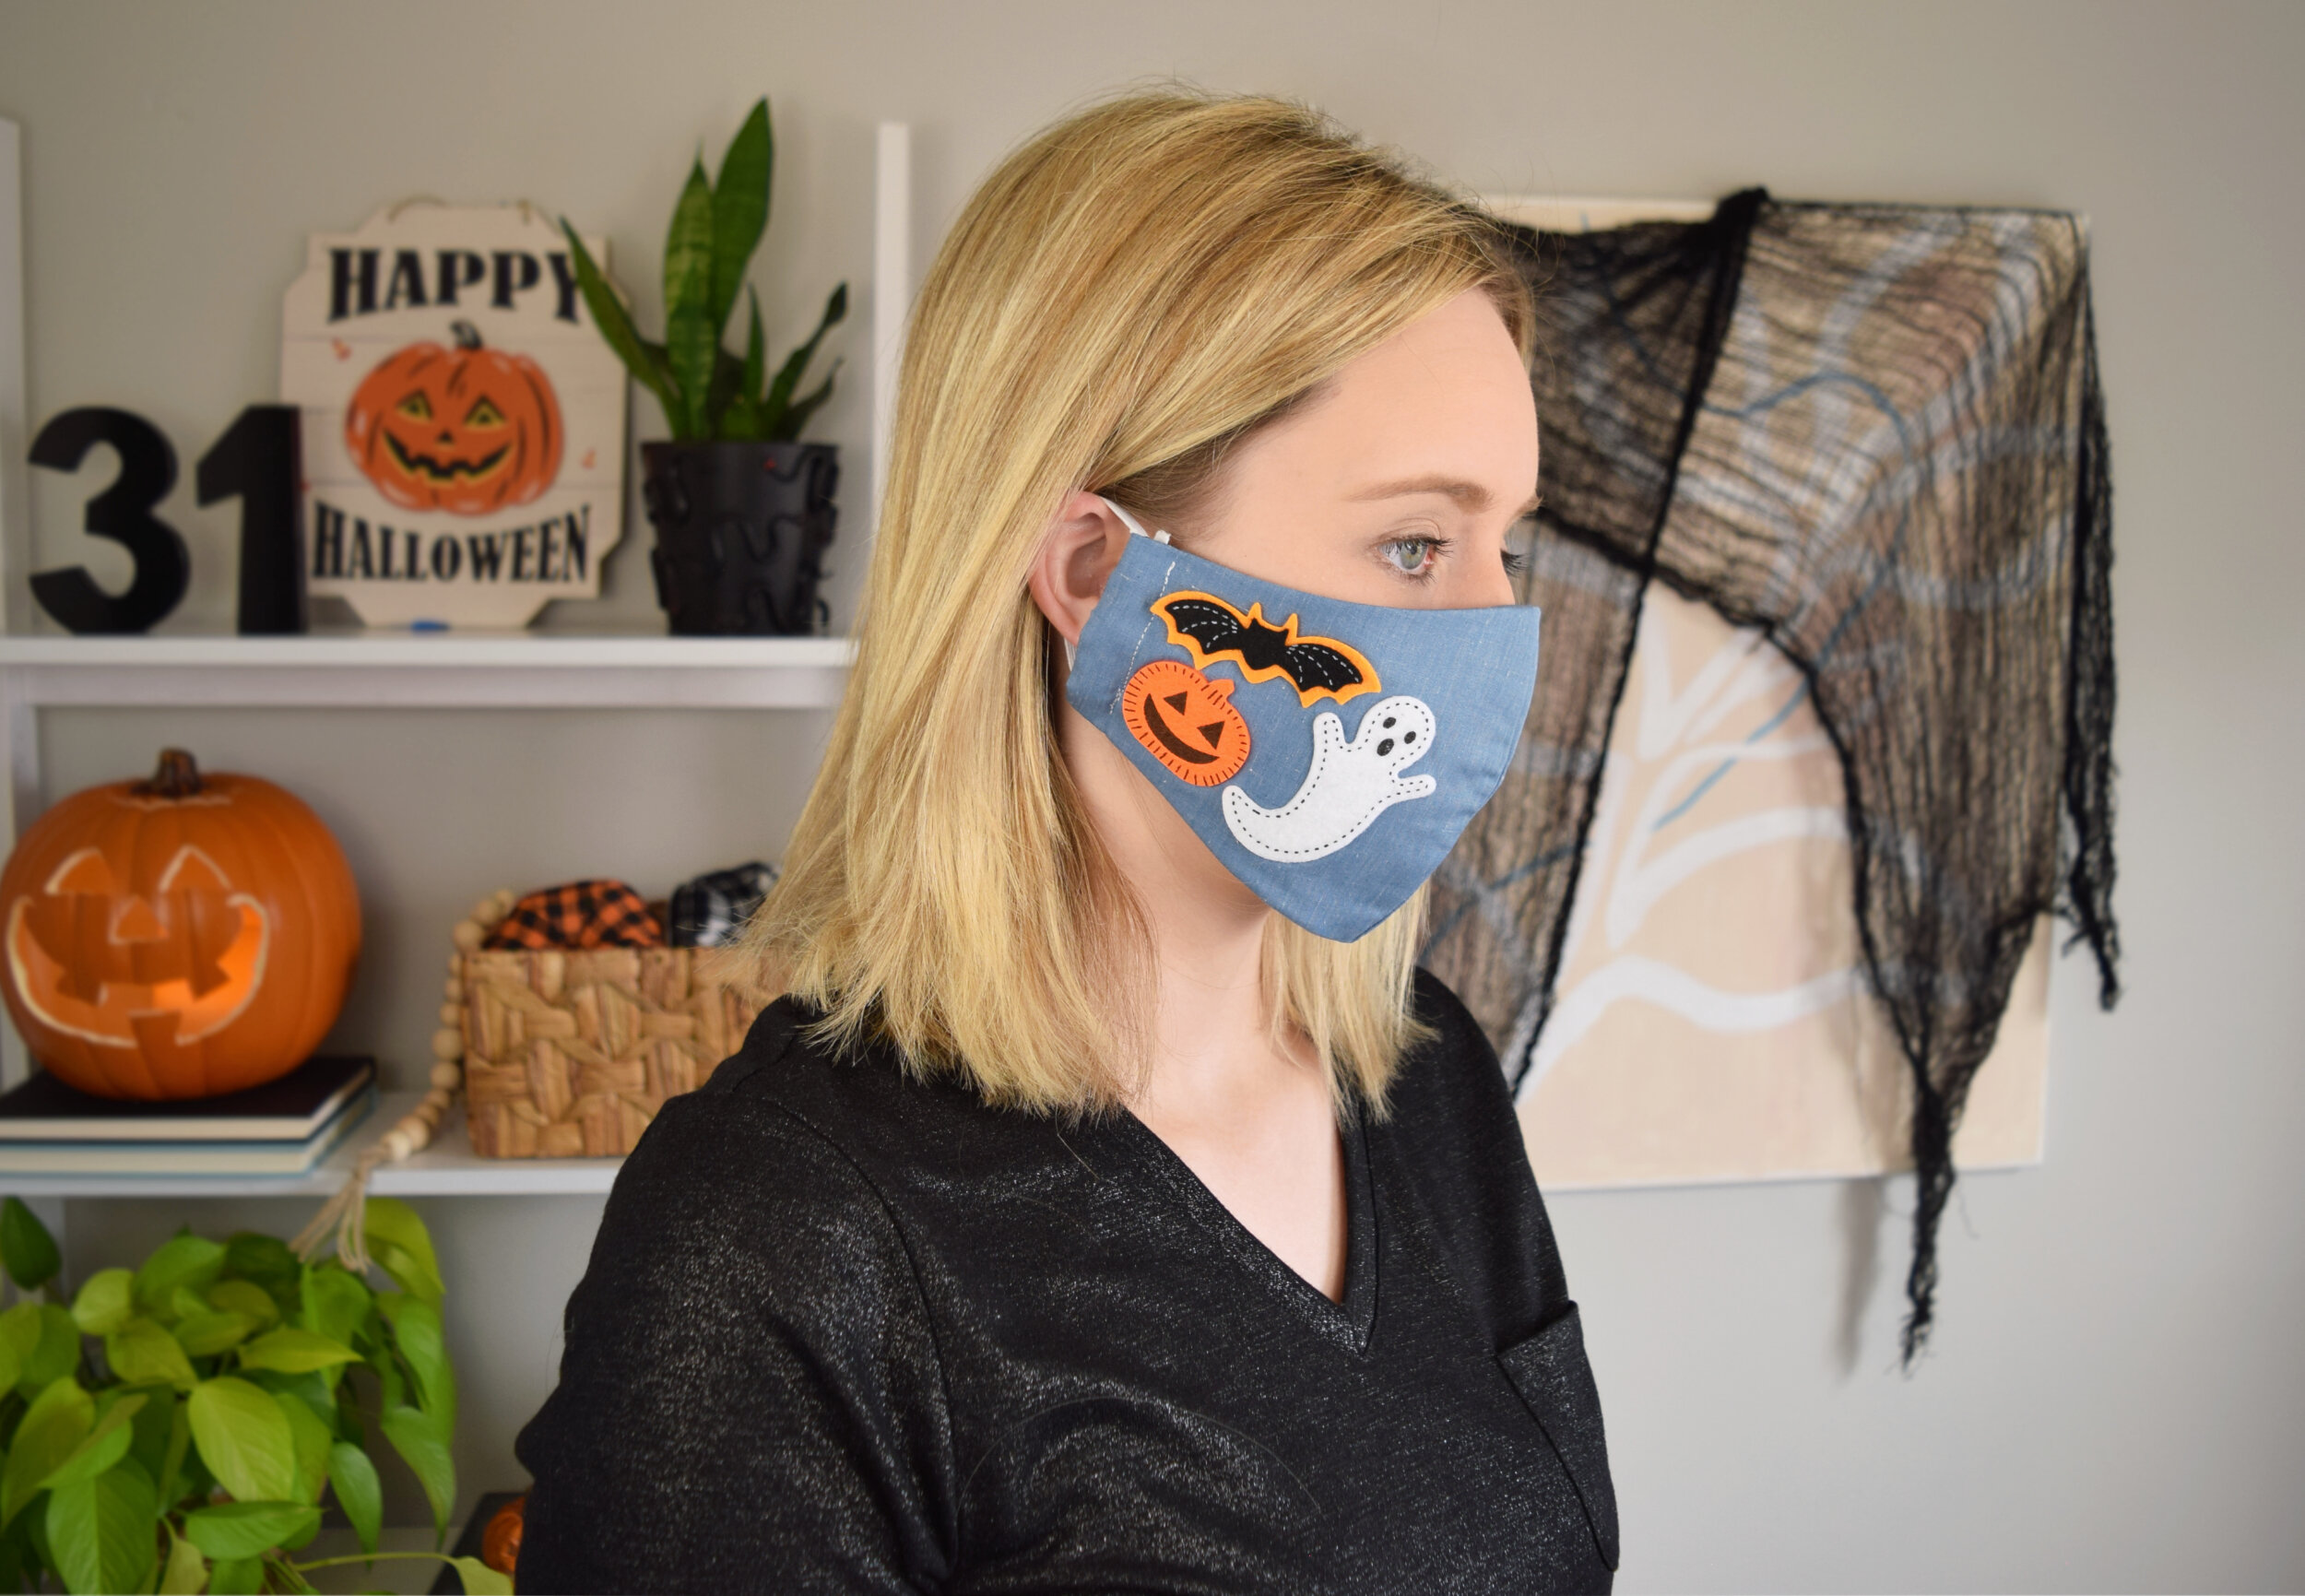
1) Next you’re going to need either lightweight denim or 100% cotton in denim blue. Cut out four Olson mask pieces.
2) I bought some cute Halloween felt stickers to attach to one side of the mask. I recommend hand sewing them down with a needle and thread or even use fabric glue… but I just stuck the stickers right onto the mask to save time on this post (also I avoid hand sewing whenever possible).
3) Then you can pin the right-sides together and sew up the mask following the Olson mask tutorial steps 3-7 above.
Mask 3: Slime drips
1) First, I sewed an all-black mask using the Olson mask pattern.
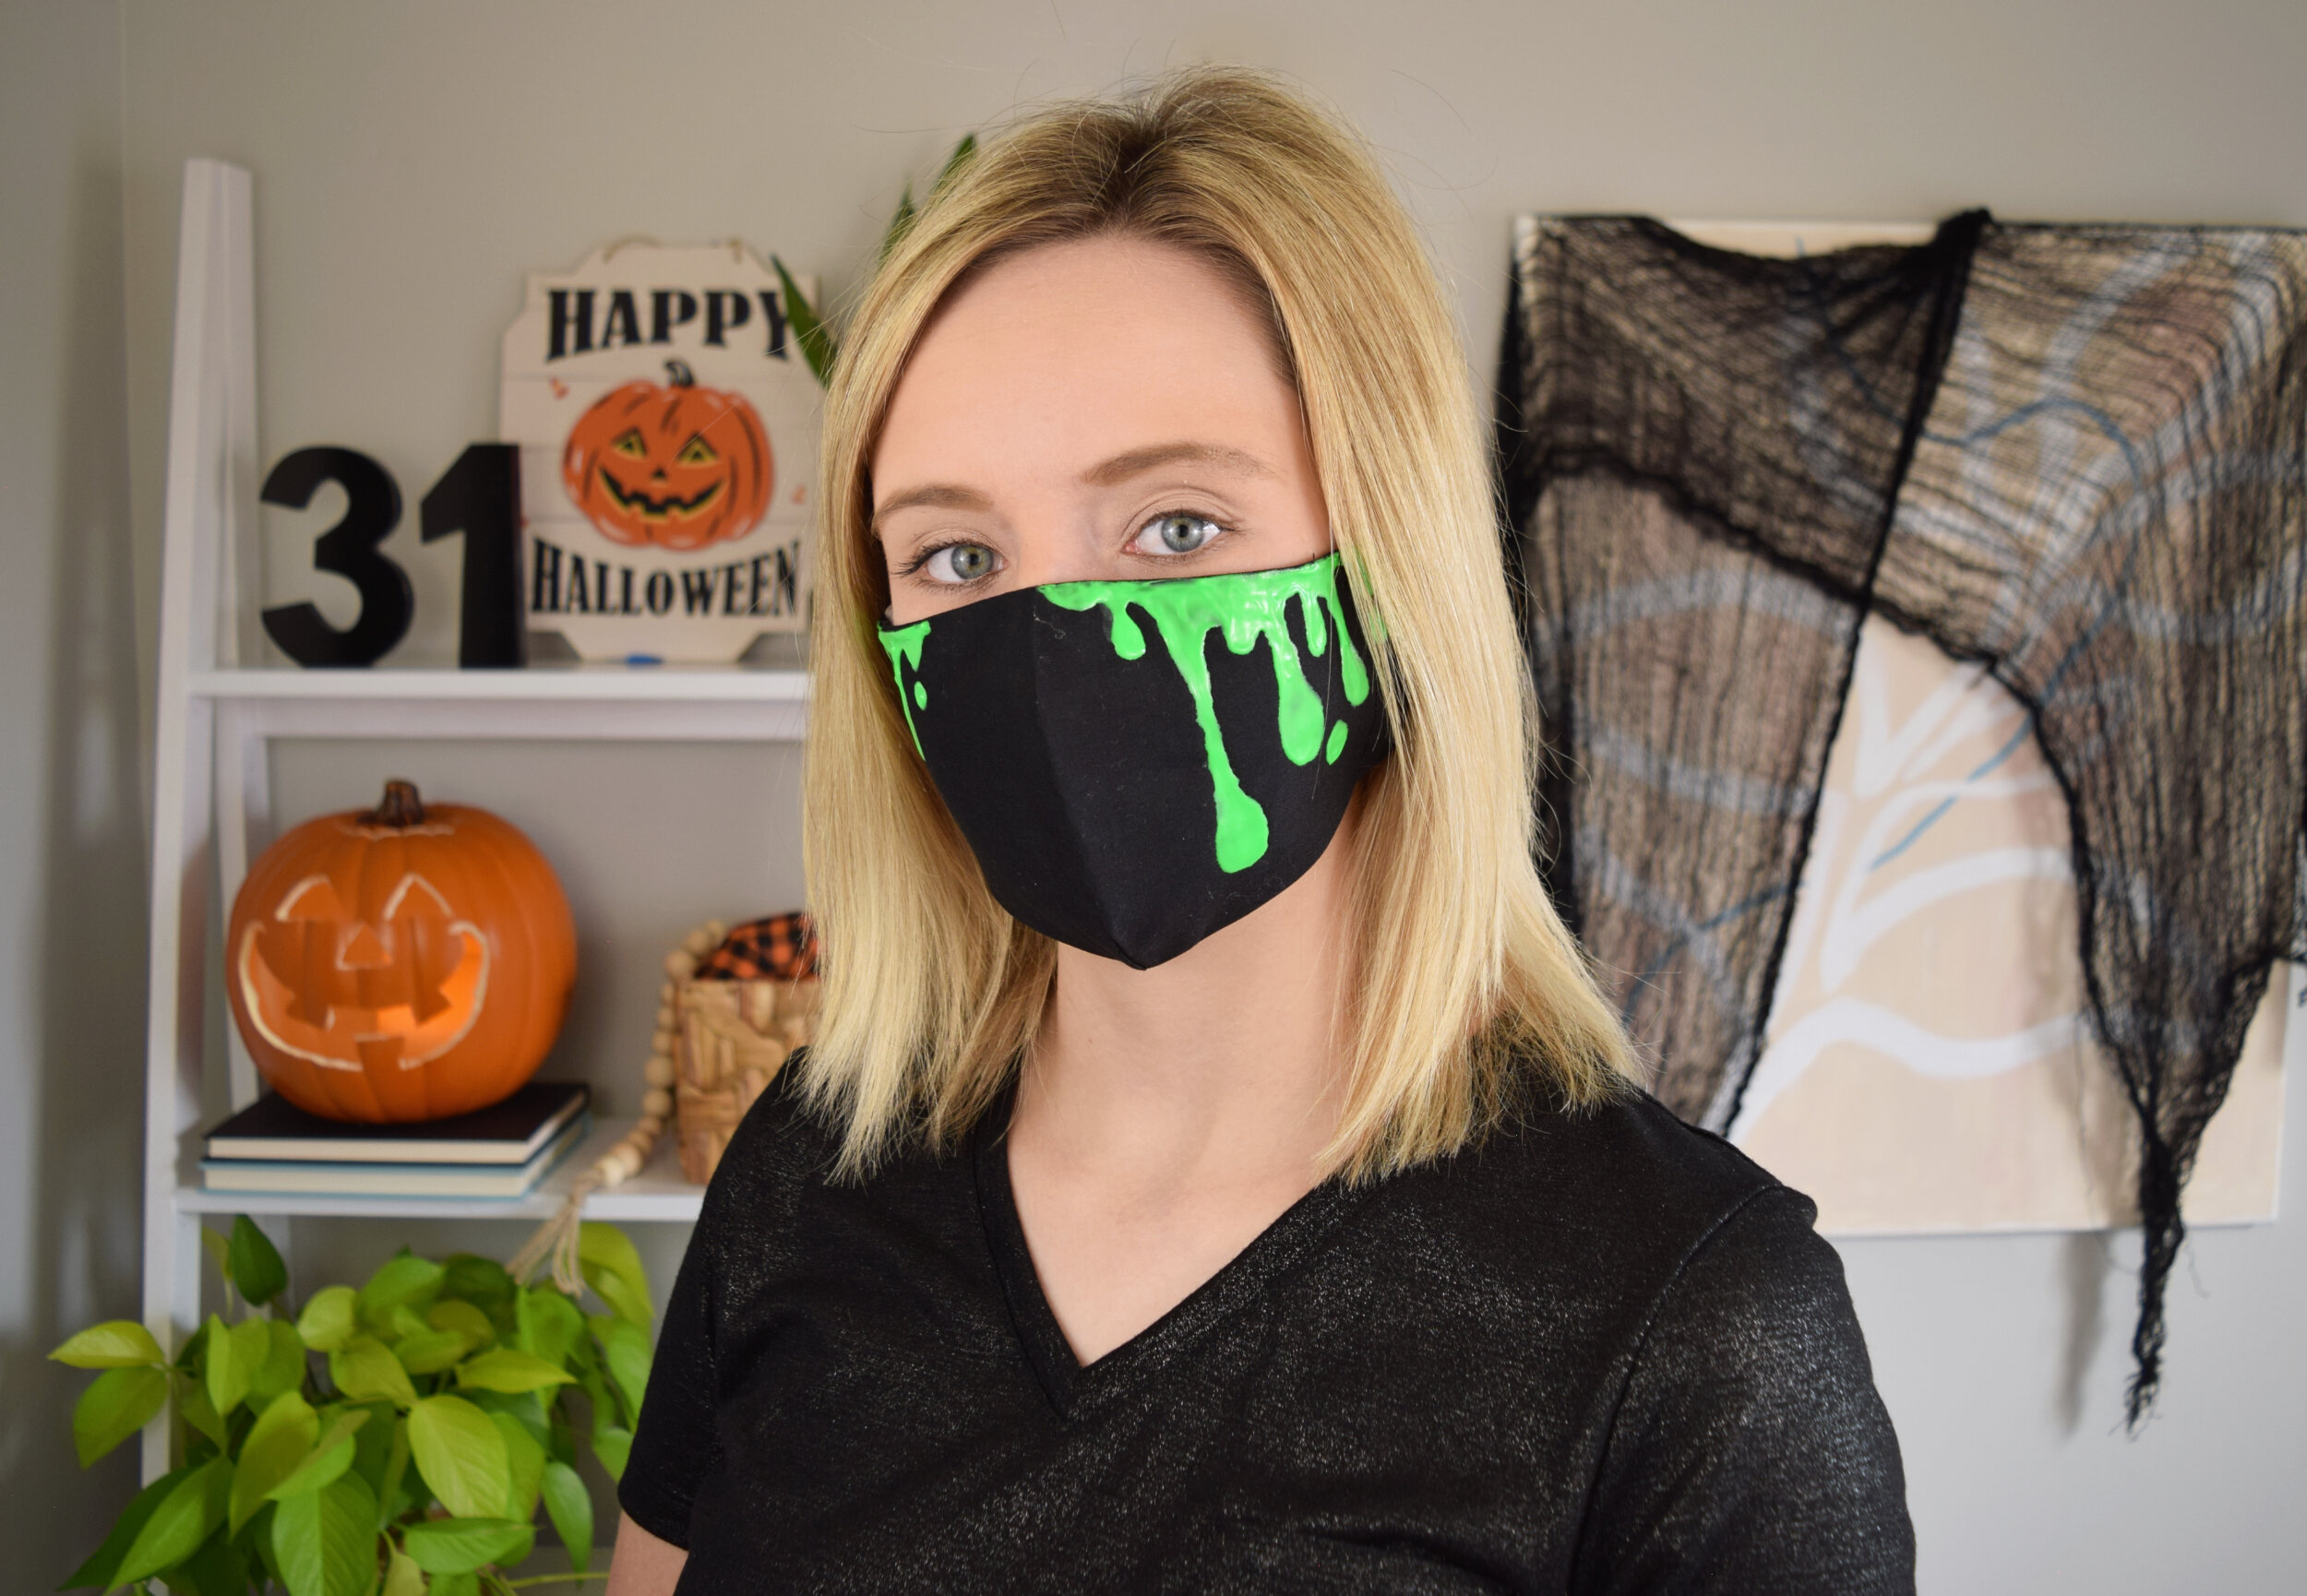
2) Then I used neon green puffy fabric paint to make slime! I got my paint off Amazon. I also saw the same paint for sale at Walmart the other day. You can do as many or as few “slime drips” as you want. I decided to paint more drips on the right side of the mask and just a few on the left side.
3) Let the paint dry to 24 hours before handling and adding the elastic. And wait 72 hours before washing the mask.
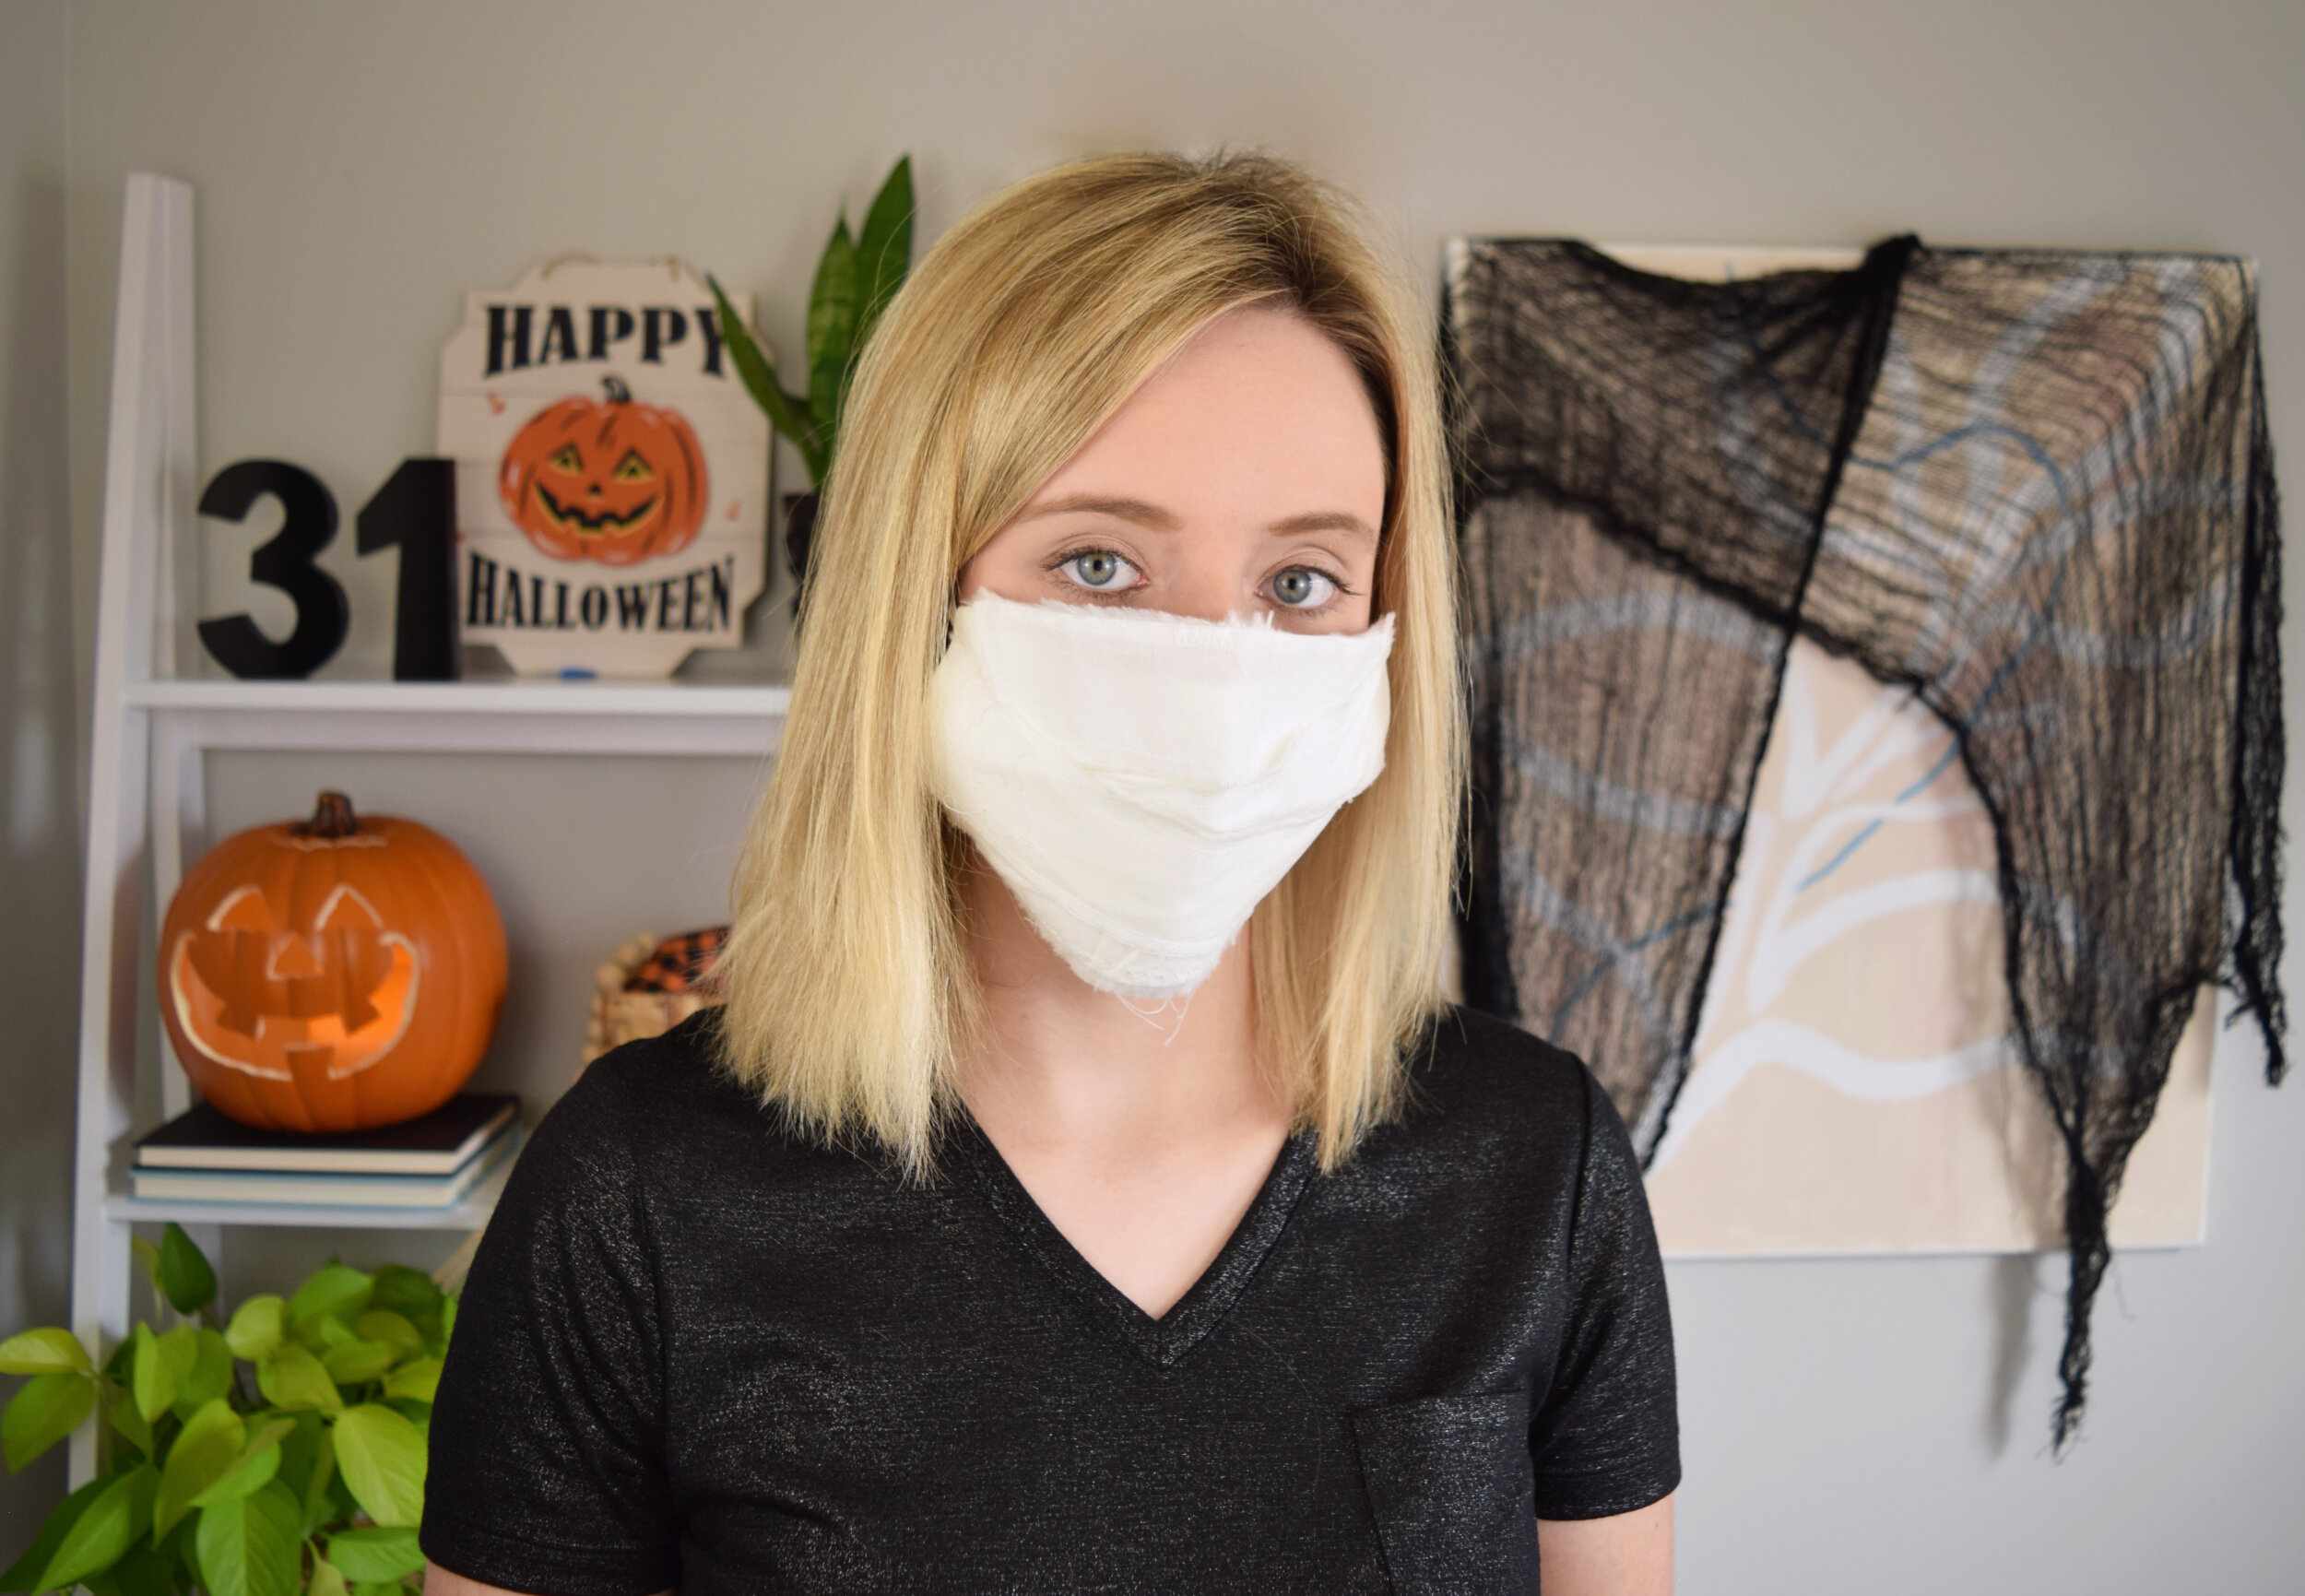
Mask 4: Mummy mask
Next, I wanted to make pleated-style masks. Now I’ll admit, I chose this style of pleated mask based on how it looked like it would be easier on my sewing machine compared to the normal pleated mask, but it’s definitely not as comfortable to wear. I recommend just going with your pleated mask of choice for these final two.
1) First cut two pieces of fabric to 8¼ x 7½ inches.
2) Next, take both pieces of fabric, fold them in half and press them with an iron.
3) Switching to metric, make a small mark at 5.5 centimeters on the top and bottom.
4) Use that mark to create your pleat, folding the fabric toward the center line. Press the pleats into place with an iron. Repeat those steps on the second piece of fabric
5) Now it’s time to make this mask mummy-inspired! I took some white fabric, snipped it, and then ripped two strips, then cut each strip in half. Basically you need 4 strips of fabric that are longer than 8 ¼”. These will be the mummy bandages.
6) Next, I sewed a straight stitch along the edge of each strip to prevent them from fraying away in the wash.
7) Now it’s time to layer everything together. I positioned each strip to resemble mummy bandages, lining up the edge of each strip with the mask fabric. The strips should gape in the middle.
8) On the other mask piece, sew a 6 inch piece of elastic to the mask like you see me doing here on both sides. I sewed the elastic down about a half inch from the raw edge.
9) Layer the piece with the elastic on top of the other pieces and sew up the two short ends and one of the long sides.
(I wish I would have made this mask with only 1 piece of pleated fabric because the fabric strips provide enough layers of fabric on the mask.)
10) To finish this mask, I turned it right side out, then sewed up the final open side with the raw edge exposed, just to make the mask blend in with the criss cross strips.
Mask 5: Gothic lace veil
I wanted to create some Halloween flair with this mask and am pulling from the dramatic lace veils you see on old fashion pill hats or in gothic fashion. I opted to go for black lace on purple fabric, but this would look great with any colors (including black on black).
1) Make two pleated mask pieces out of deep purple fabric or color of your choice.
2) Next, take some black lace and cut it slightly larger than the width of the mask fabric. This will make a “veil” over the front of the mask.
3) I wanted the eyelash scallop detail along the bottom of the veil for the ~drama~, so I carefully cut the lace to achieve the look.
4) Next, I folded a tiny hem on the left side of both mask pieces. I also attached elastic to both sides of one of the mask pieces the same way as in the previous mask.
5) After that, I sewed the lace in place across the top of the elastic side of the mask.
6) Then I tucked the lack into the center of the mask piece and pinned the other mask piece on top.
7) Then sew along the three raw edges, leaving the hemmed pieces open so the mask can be flipped right-side out.
8) Finally, sew the hemmed side shut.
Now here are some photos of me modeling these DIY Halloween masks!
That’s it for this post! I’m excited to start wearing them in October. I think they’ll be great for trick-or-treating, Halloween events or even just to wear when a mask is required.
I have lots of other Halloween content coming your way soon that I’m really looking forward to sharing. In the meantime, you can follow me at the social media links below. And I would appreciate it so much if you gave this post a pin or share!

